- How to Build an Effective Custom Robot
- Choose the Combo of Weapons
- Install Torso
- Choose the Right Shoulders
- Install Weapons
- Install an Appropriate Chassis
- Install Supply Gear and Cycle Gear
- Select an Appropriate Pilot
- Test Your Robot
- Painting
- Rename Your Robot
- Add the Robot to Hangar
- Import / Export Robot
- Beginner Robot Codes
- Robot Building Tips
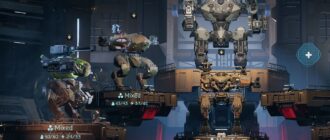
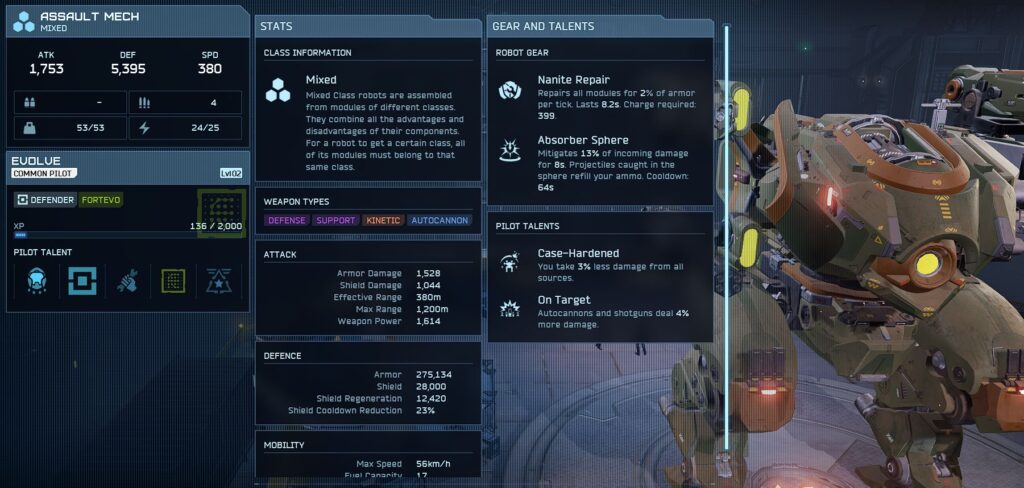
Robots in War Robots: Frontiers consist of several modules: Torso, Chassis, and Shoulders. Depending on these modules, robots might have a certain number of slots for light and heavy weapons, as well as slots for Supply (defensive) and Cycle (offensive) Gear. Also, robots require Pilots, who provide various talents, improving the effectiveness of the mech. In this guide, I will explain how to build robots in the game and what difficulties you may encounter.
How to Build an Effective Custom Robot
To build an effective mech, you need to add modules in the right sequence. This is important because the modules depend on each other. To start building, go to Workshop → Custom section through the main menu and press “Build a New Robot”. After this, follow the instructions below.
Choose the Combo of Weapons
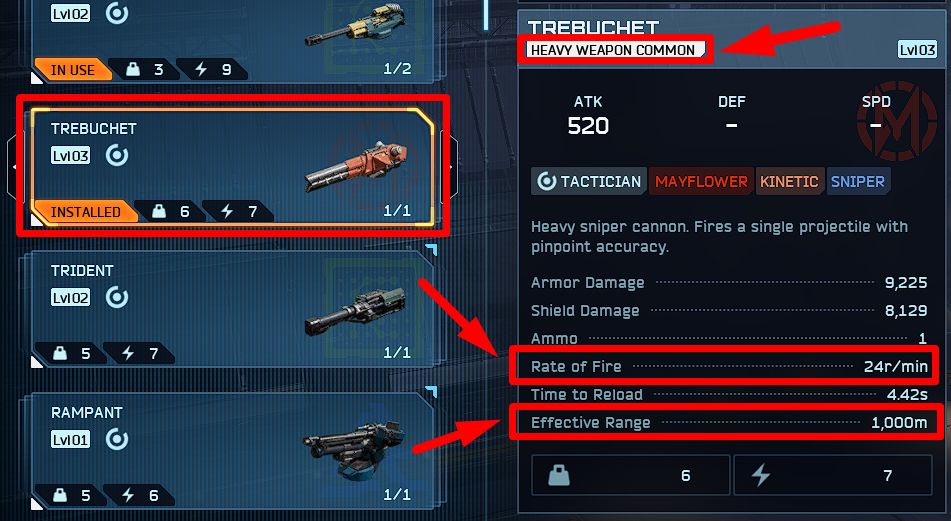
Weapons in the game are divided into 2 types: Heavy and Light. It will be much easier to build an effective mech if you start with the right weapon combination. The thing is, the weapons you use must fit each other in terms of distance, fire rate, and usage time. For example, there is no point in using a Sniper Cannon with Flamethrowers because it’s not going to be convenient.
Before you build a robot, clearly decide what type of weapon you are going to use:
- Close-range (like Flamethrower, Electric Beam, Shotguns),
- Long-range (like Railgun, Trebuchet),
- Mid-range (like Trident, Punisher),
- Support/artillery (like Noricum, Vortex).
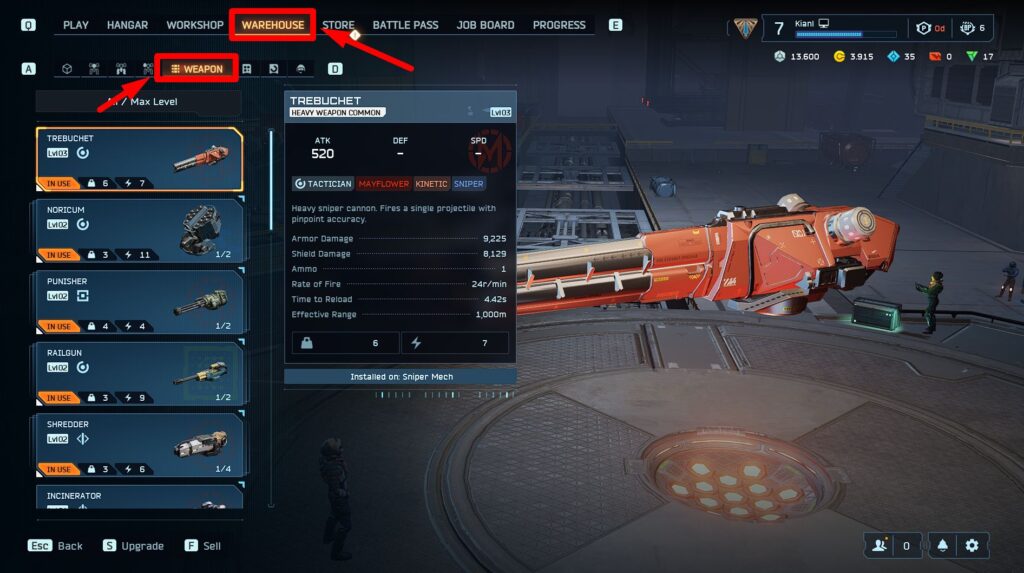
Your goal is to come up with an effective combination of the weapons available to you. You can find all the weapons available in the Warehouse tab.
For example, in this guide, I’m going to build a long-range sniper mech, so I will use 1 Trebuchet and 2 Railguns.
Install Torso
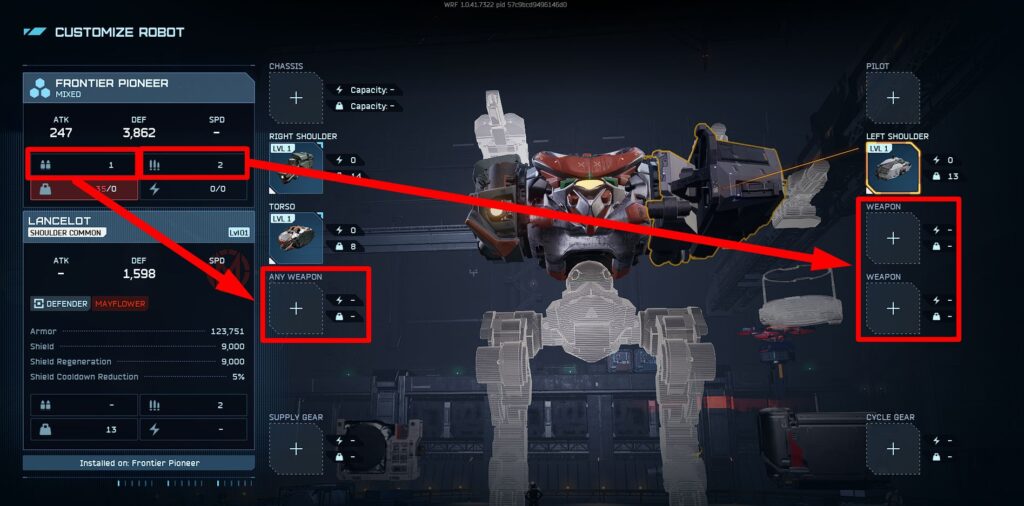
You should choose Torso and Shoulders according to the number of weapon slots you need to install your chosen set of weapons. For example, I need 1 slot for Heavy and 2 slots for Light weapons.
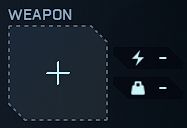
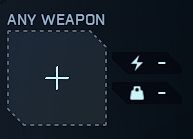
Weapon slots are divided into 2 types:
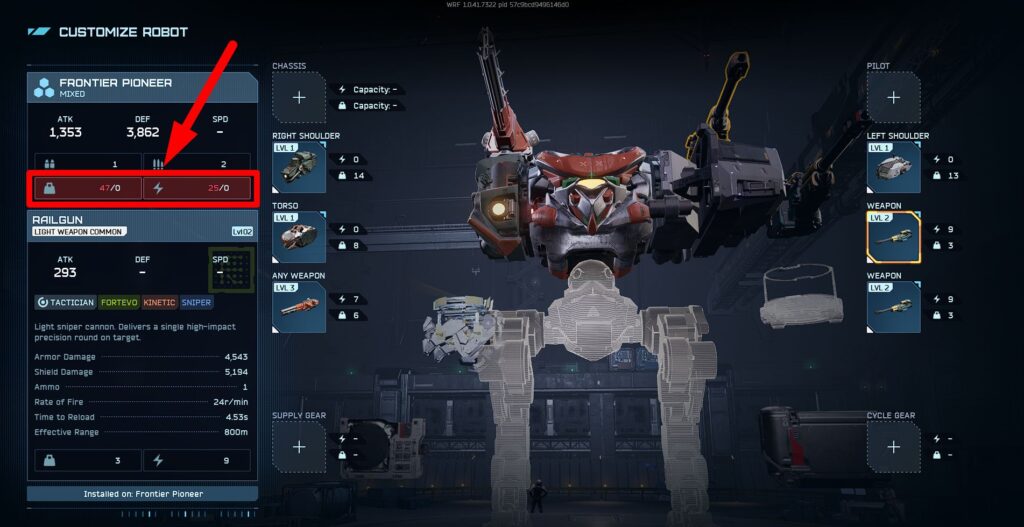
Remember, though, that every weapon has Weight and requires Power, so there is no point in having extra slots if you can’t use them.
Weight of Torso modules might vary from 8 to 14 units. You should take this into account in advance because the more Weight points you spend, the fewer weapons you will be able to install on your robot.
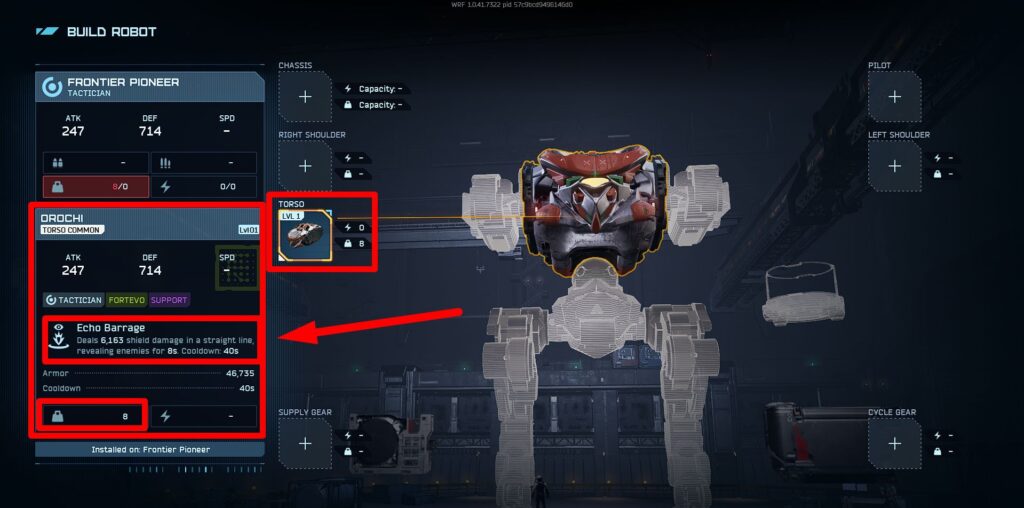
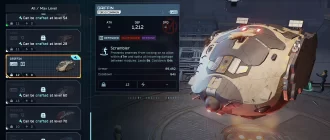
The most important detail is that Torso modules provide various skills. You can use these skills in combat. They might be oriented toward offense, defense, support, or movement. When choosing a Torso, you should consider its unique skill and make sure it fits the set of weapons you have chosen. For my sniper mech, I will use the Orochi Torso module, which only requires 8 Weight points.
Choose the Right Shoulders
Every robot in the game can have 2 shoulders: left and right. A Shoulder is a module that provides your robot with a certain number of weapon slots (“light” or “any” types). Also, shoulders might significantly increase the Armor and Shield of your mech. They don’t require Power, but they require 10 to 14 Weight points, which is quite a lot.
You should choose shoulders according to the number of weapon slots you need. For my example mech, I need 1 Heavy weapon slot and 2 Light weapon slots, so 1 Bulwark and 1 Lancelot shoulders will be a perfect choice.
Install Weapons
Having all the necessary slots, you can install your weapon set (1 Trebuchet and 2 Railguns in my case).
Install an Appropriate Chassis
The Chassis is the base of a robot. It determines three key parameters of the mech:
- Max Speed (km/h),
- Weight Capacity,
- Power Capacity.
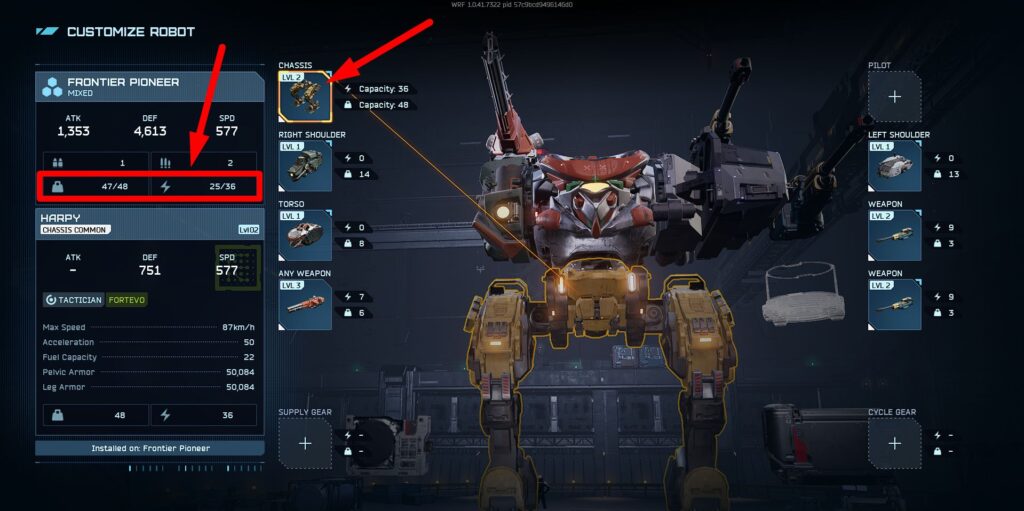
This is important because every module in the game (except the Chassis itself) has Weight. As for Power, it is required for all Weapons and Gear. Usually, the higher the Weight Capacity of the Chassis, the lower its Power Capacity and Max Speed.
You should choose a Chassis according to the key needs of your build: Power Capacity, Weight Capacity, and playstyle.
Since my mech is going to be a sniper, I have chosen the Harpy Chassis module, with a Max Speed of 87 km/h.
Install Supply Gear and Cycle Gear
Every robot has 2 slots for Gear:
- Supply Gear provides you with a defensive combat skill;
- Cycle Gear provides you with an offensive combat skill.
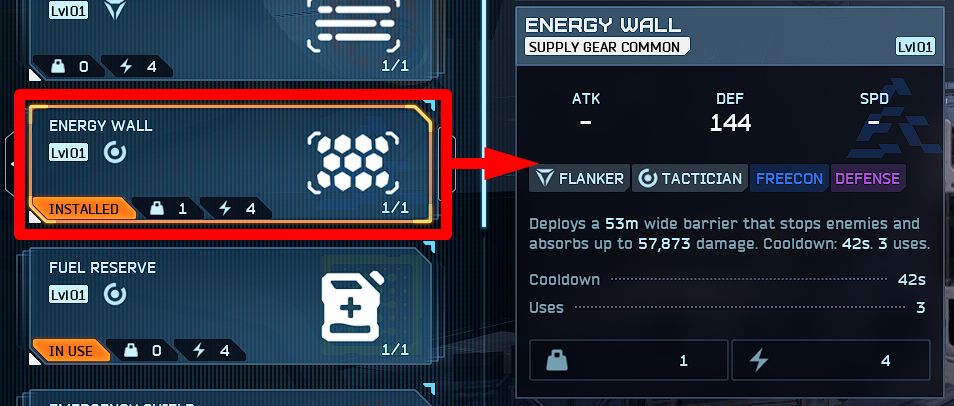
Most Gear modules don’t require Weight points, but they still require quite a lot of Power. You should choose them logically, according to how you plan to use your mech. For example, my robot will be a sniper, so I will use:
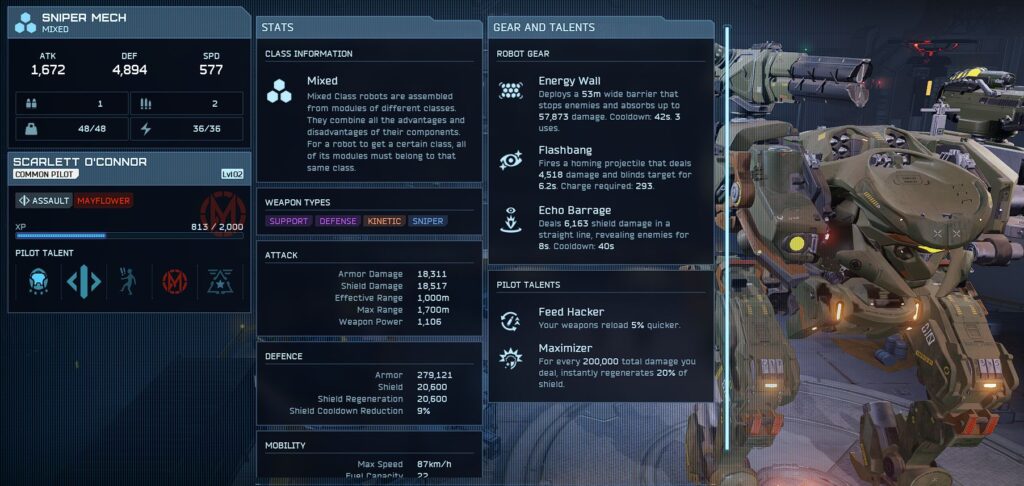
- Energy Wall for protection during long-range firefights;
- Flashbang to blind an enemy when they close the distance.
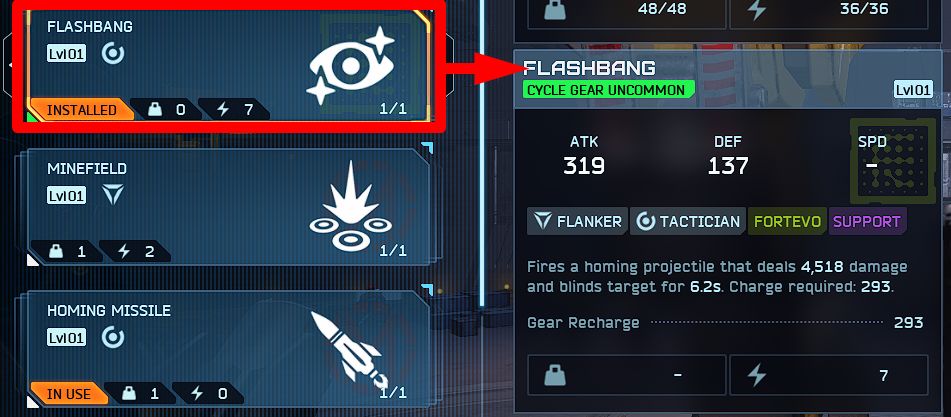
You should install Gear modules last, because they are much less important than the weapon set. Simply put, it’s better to play without 1 Gear module than without 1 extra weapon.
Select an Appropriate Pilot
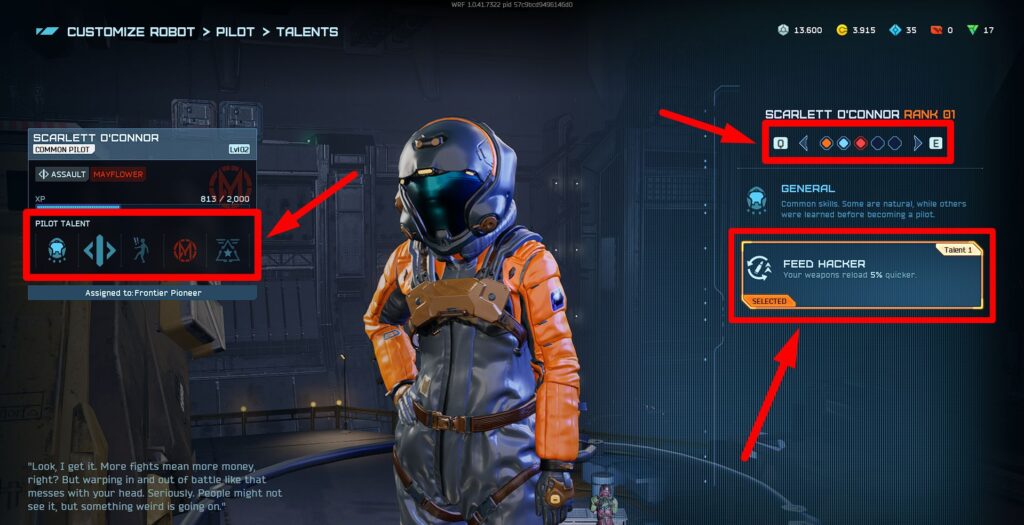
Any robot also needs a Pilot. Pilots have various Talents, which increase the effectiveness of your build. When choosing a pilot, press “Show Talents” to inspect the pilot’s passive abilities. Note that pilots have ranks (1–5), and each new rank unlocks a new Talent.
For my mech, I have chosen the Scarlett O’Connor pilot, because his “Feed Hacker” talent increases the reloading speed of all weapons by 5%, which is useful for sniper cannons.
Test Your Robot
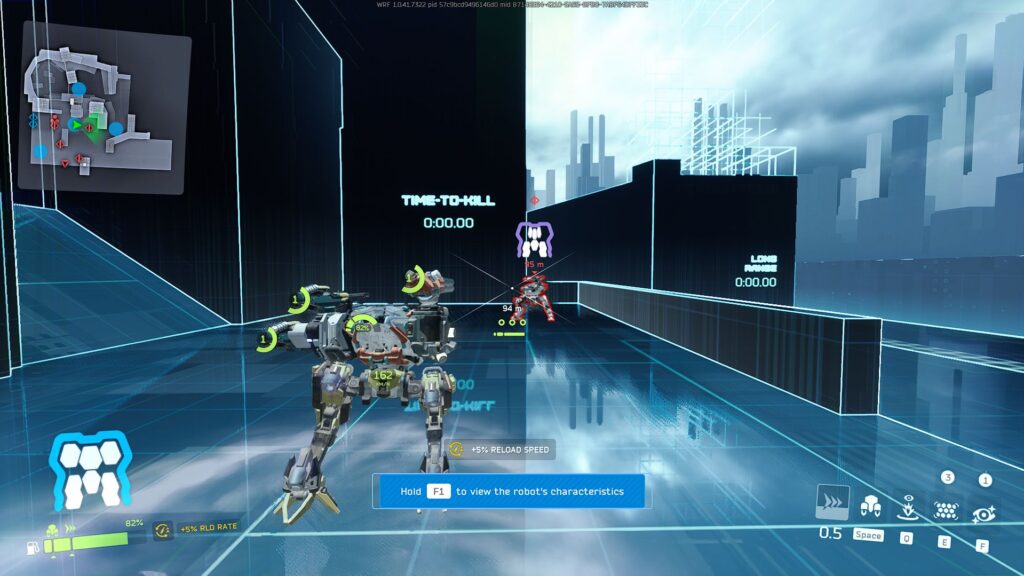
Before playing, you can test your build in the Robot Test Range (hotkey “S” on PC). Here, you can shoot static and moving targets to test the firepower and general performance of the mech.
Painting
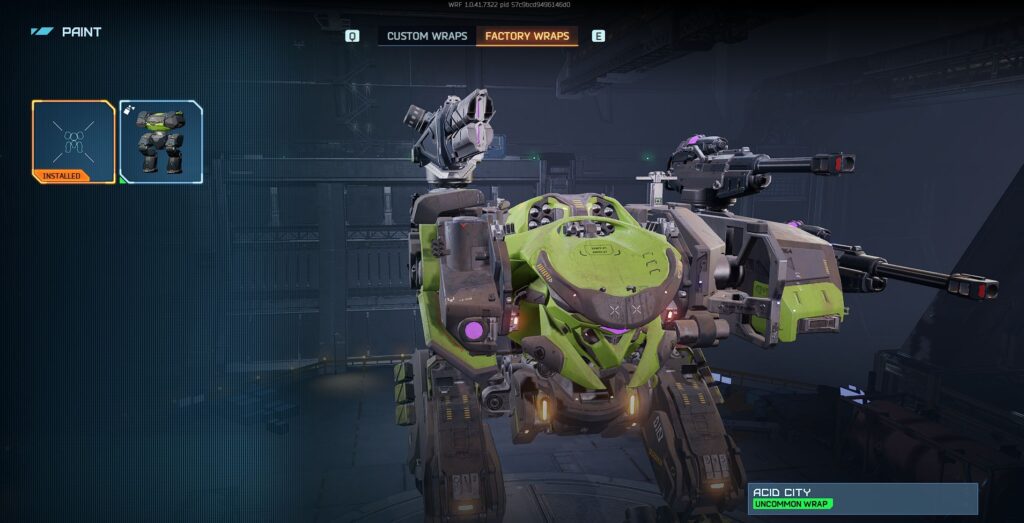
You can also paint your robot to make it look better. Select the mech in the list and press “Paint” in the menu. You can use Factory Wraps if you have them (for example, “Acid City”).
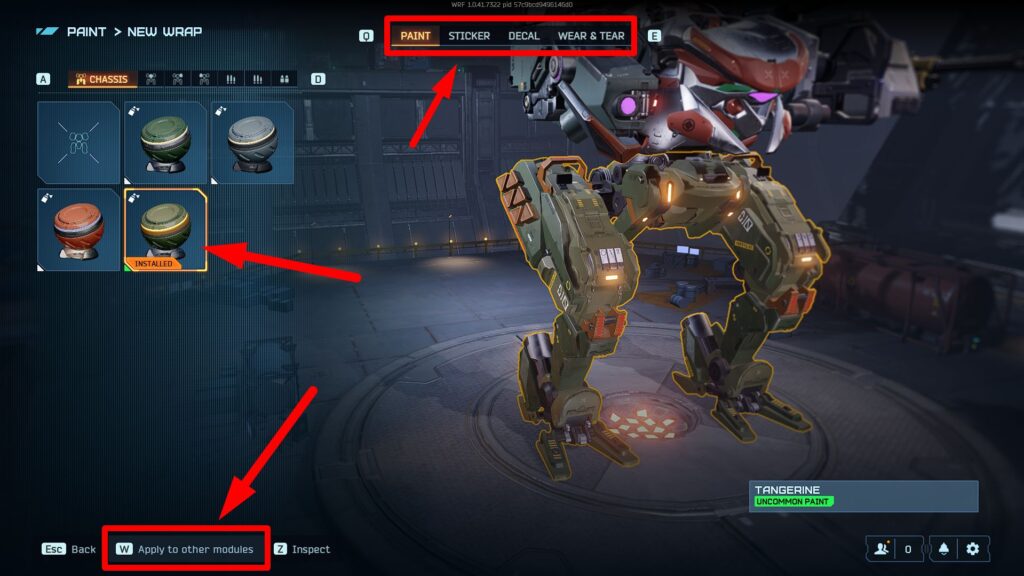
To create your own wrap, press “Create New” and choose a paint for each part of your mech. There are also various Stickers and Decals that can be applied over paints.
When you leave the painting interface, the game will suggest you save the wrap. Having it, you will be able to paint your other robots in the same way with one click, which is very convenient.
Rename Your Robot
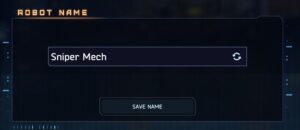
In the customization interface, you can also rename your robot (hotkey “D” on PC).
Add the Robot to Hangar
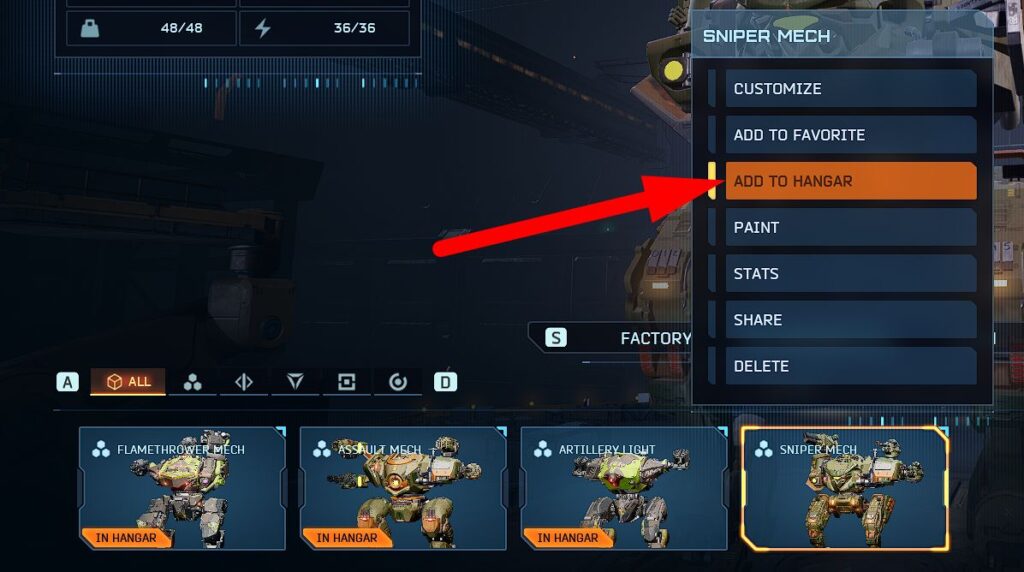
In the Workshop tab, select the robot you created and press “Add to Hangar” in the context menu. Otherwise, you won’t be able to use it in matches.
Import / Export Robot
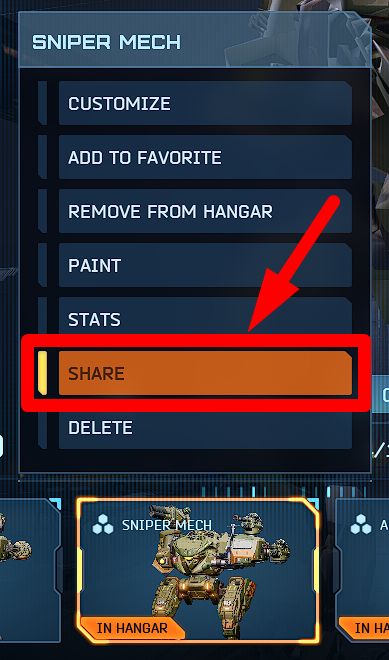
Robots can be exported as codes. Select a robot in the Workshop section, press “Share” in the context menu, and copy the code.
Having a code, you can easily restore the build. Just press “Build a New Robot” and then “Import”. After entering the code, you will get your robot back.
Beginner Robot Codes
Here are a few codes of effective beginner robots I created. You can build them at level 5–7:
- nJmkMQIg (Sniper) – 1 Trebuchet, 2 Railgun
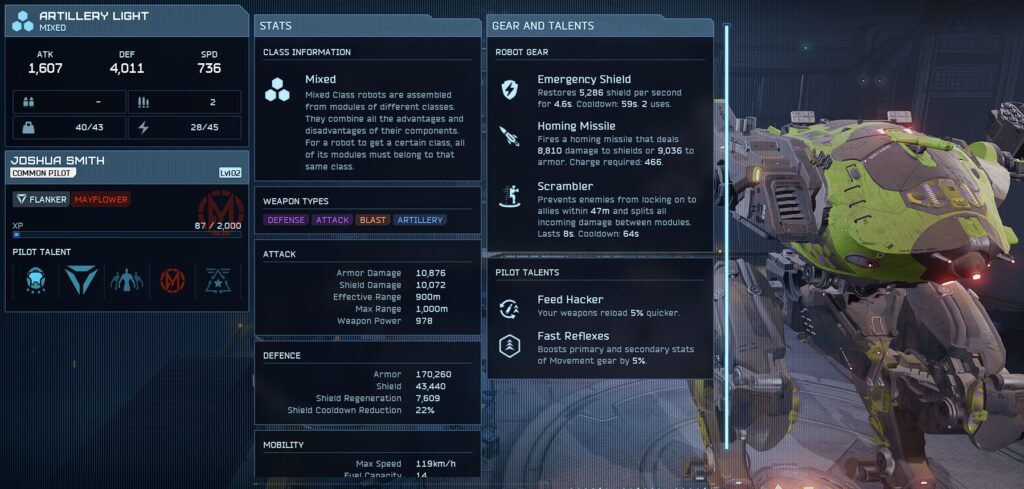
- fXpmIvoF (Artillery) – 2 Noricum
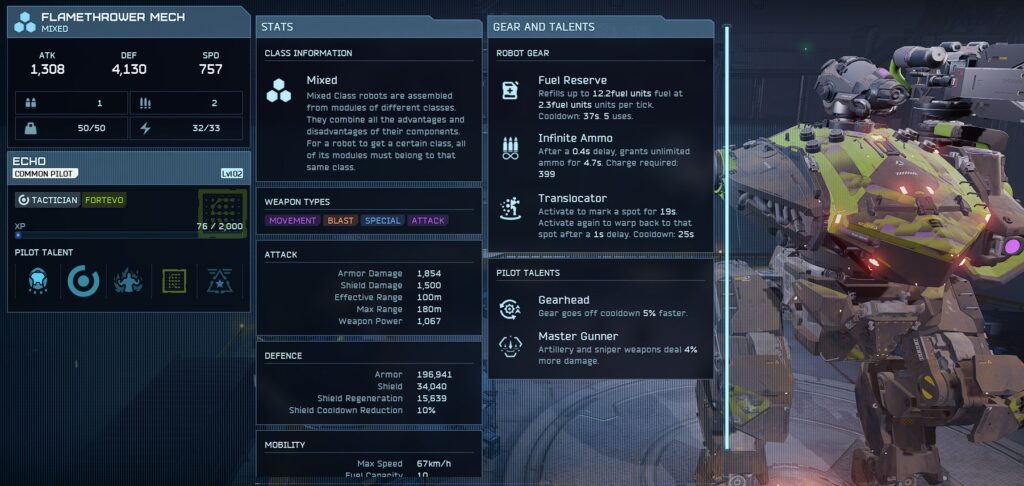
- y03vi9vT (Flamethrower) – 1 Incinerator, 2 Lighter
- BplaNOBQ (Assault) – 2 Punisher, 2 Shredder
Robot Building Tips
- Do not start building your robot from the Chassis, even though it seems logical. Start by choosing a set of weapons, and you will always have decent results.
- Strive to have 5 robots in your Hangar, even if most of them are weak. This way, you will perform better in matches.
- Craft new modules in Warehouse and buy them in the Store → Daily Deals.
- Upgrade your modules in Warehouse to improve their effectiveness.
- Do not forget to buy and level up new Pilots in the Store.
- Export your builds as codes and save them in a text file.
