As soon as you finish the “Forgotten Legacy” quest, you will receive the next quest called “Claiming the Sky.” It will guide you through building your own flying island-ship.
Claiming the Home Island
The very first thing you must do is build a Home Kit on an island you like. To do this, open the building menu (B), go to the “Home” section, and place the Home Kit on the ground. By interacting with it, you can rename your island.
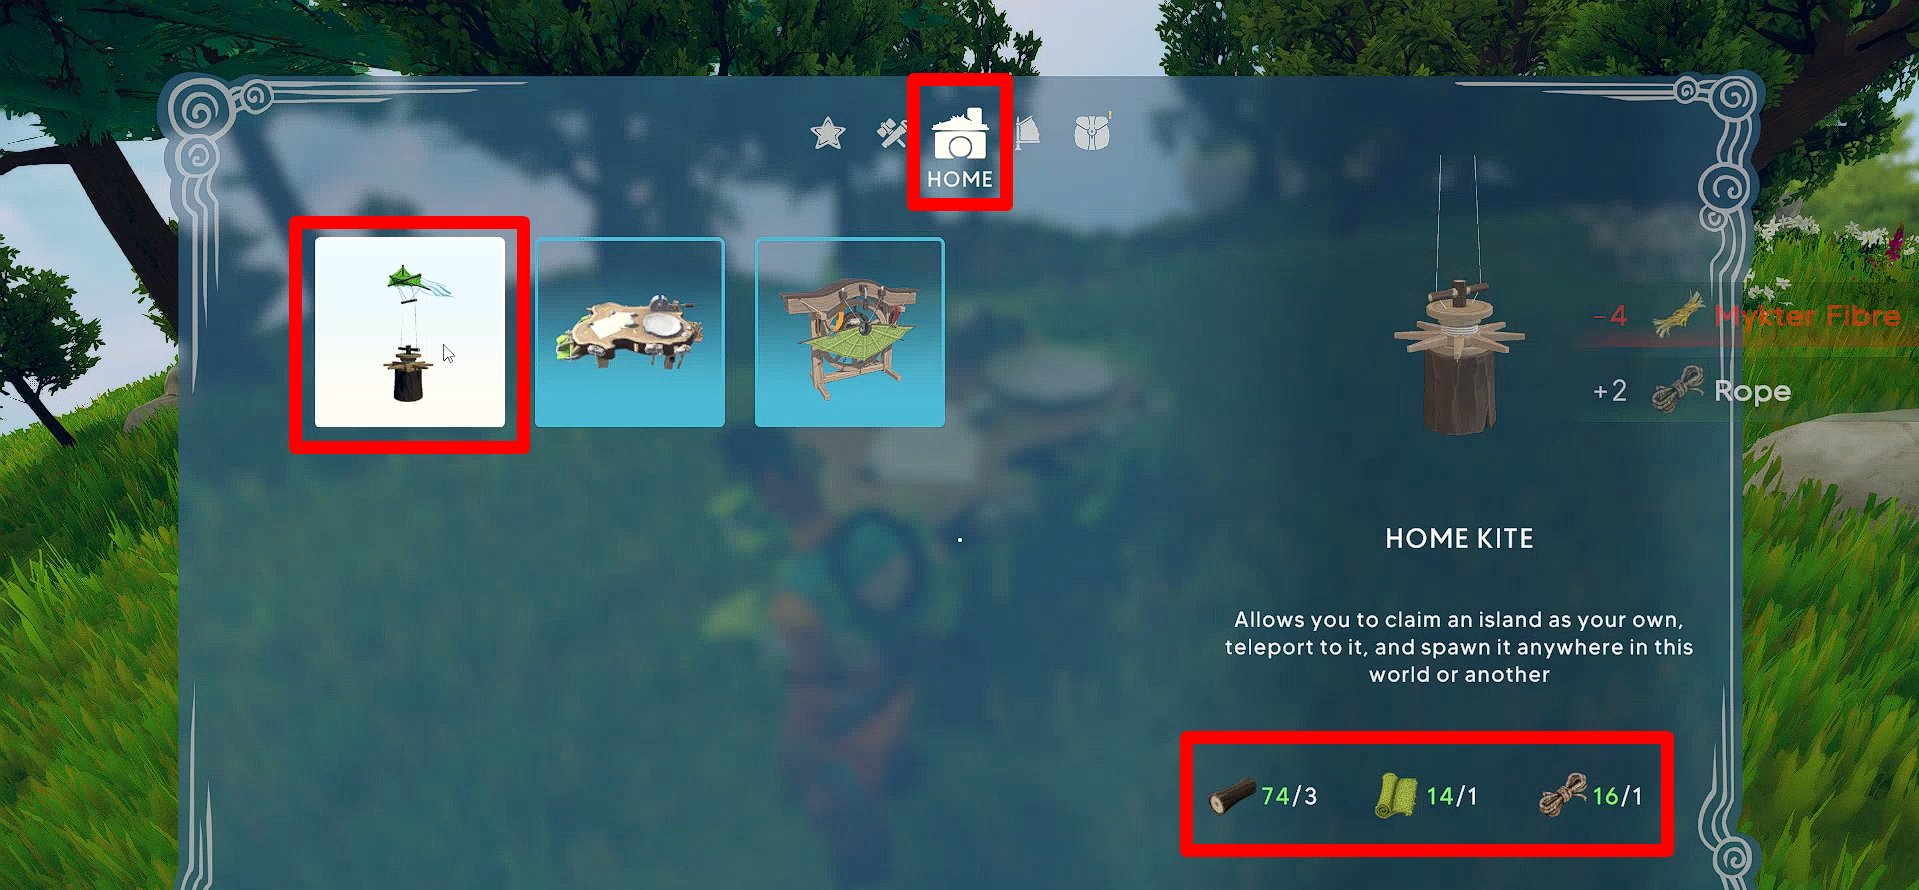
Pay attention to the fact that not every island in Aloft is suitable for claiming; some of them are too big. Also, depending on the size of the island you pick, you might need more Sails, Rudders, and Floaters for it.
Teleportation to the Home Island
After you build the Home Kit, you gain the ability to teleport to your island. To do this, open the menu (TAB) and go to the “Home Islands” section. Press “Teleport to Home,” and your character will be immediately delivered to your island.
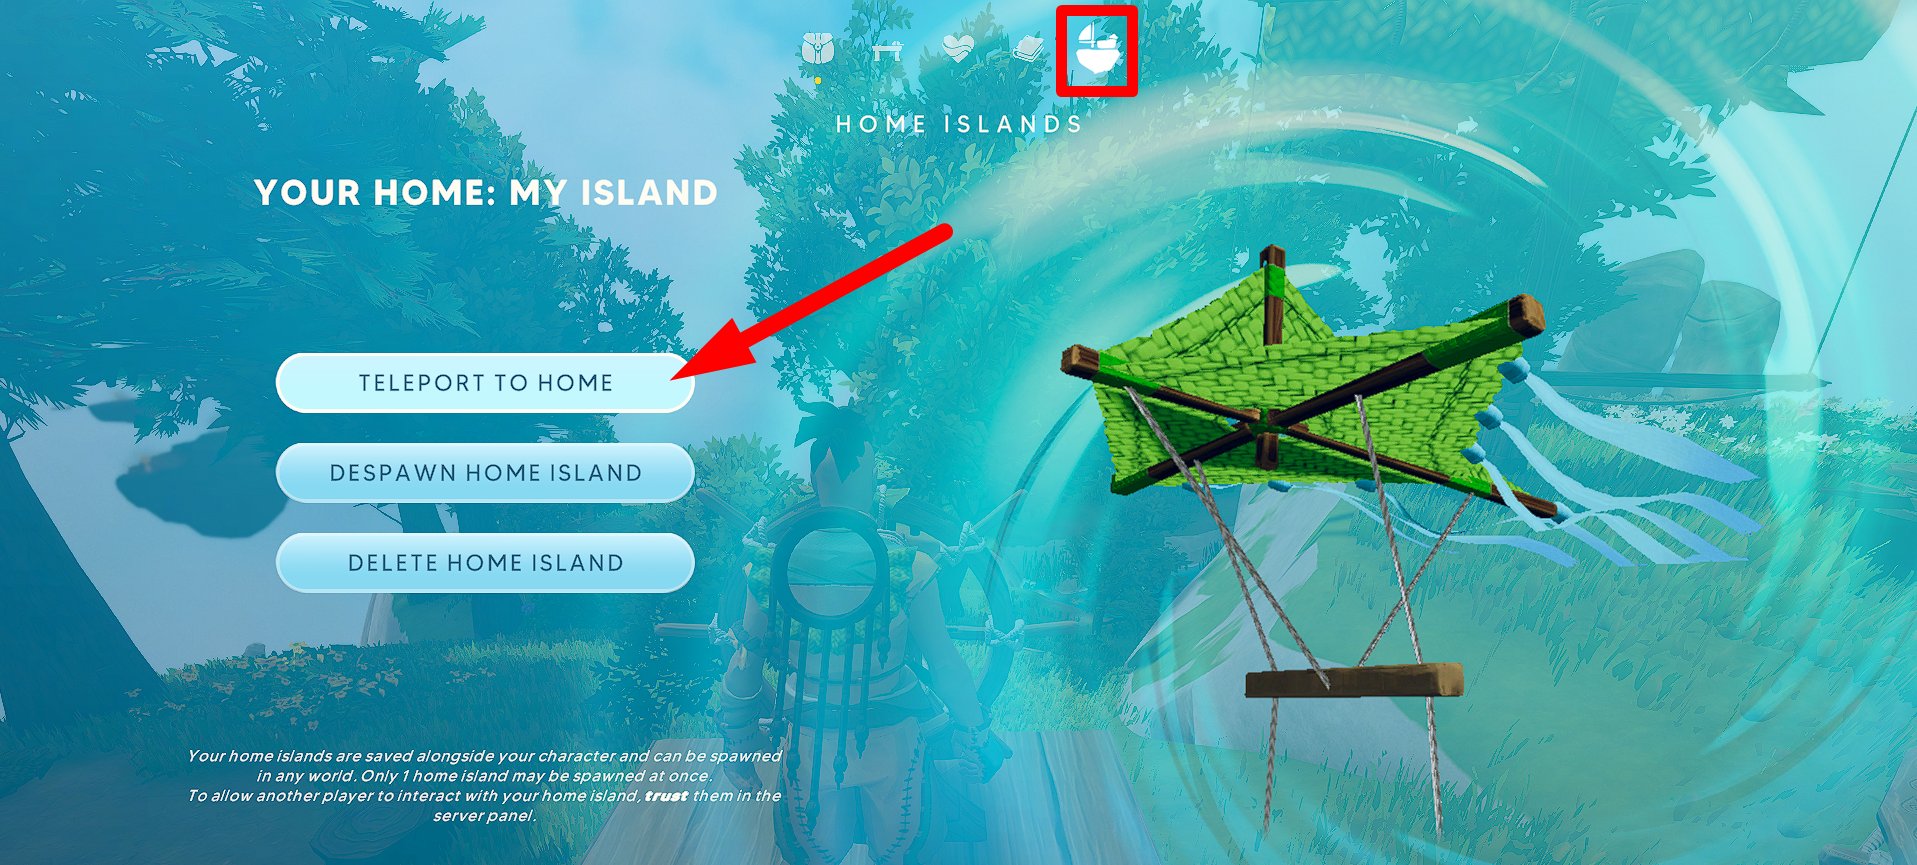
The teleportation feature does not have any cooldown. You can also “Despawn Home Island” and then spawn it next to your current location in the current world or any other one.
Transferring Islands Between Worlds
Your islands are saved alongside your character. This means you can spawn them in any other world.
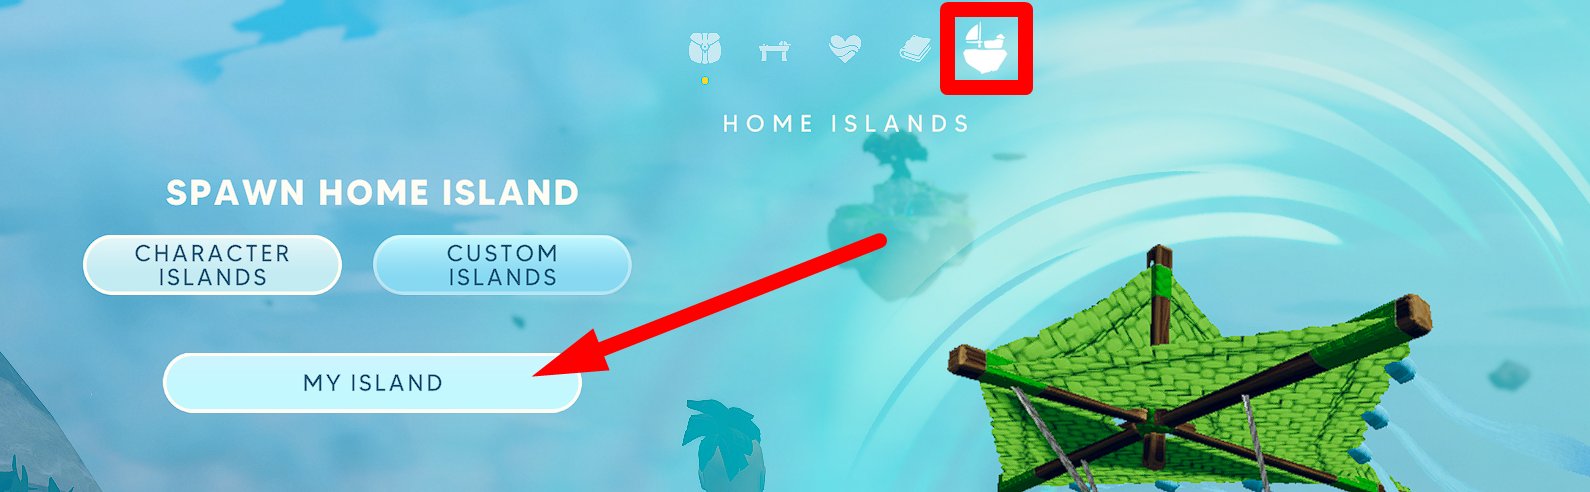
To do this, visit any other world (can be created in the main menu of the game) using the character who has linked islands. Go to Menu (Tab) → Home Islands and select an island you want to spawn from the list.
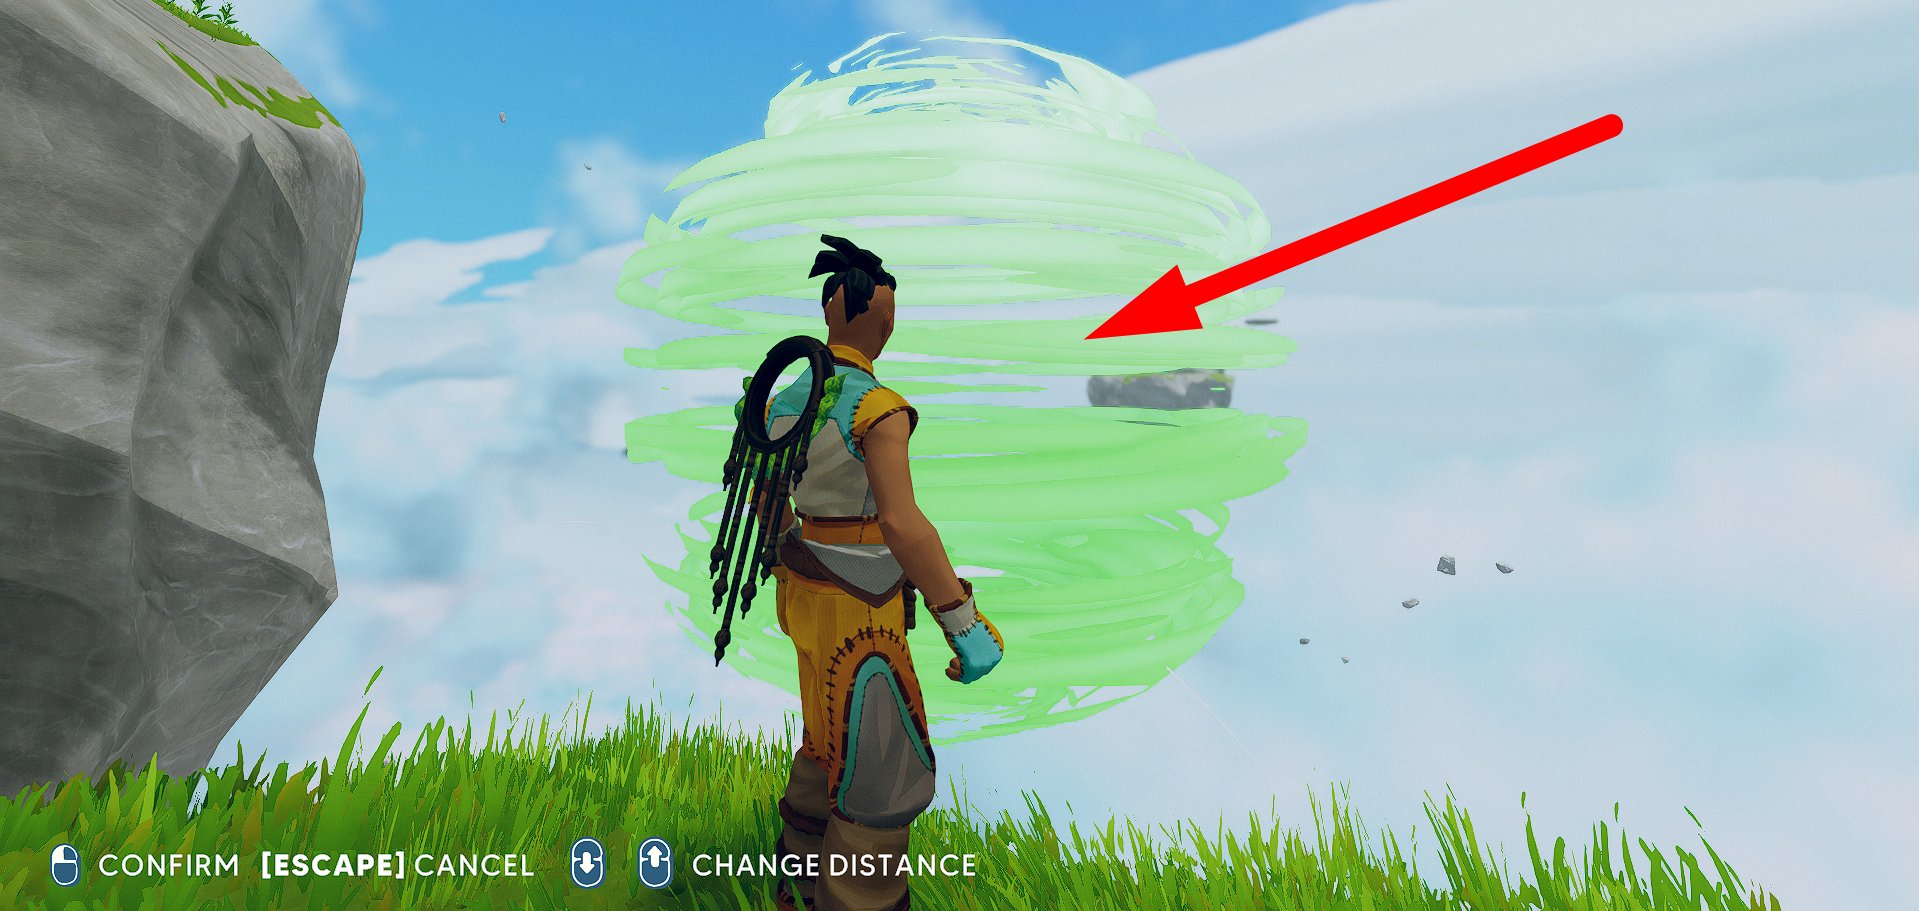
Aim at some free space in the sky and confirm spawning with the LMB (Left Mouse Button).
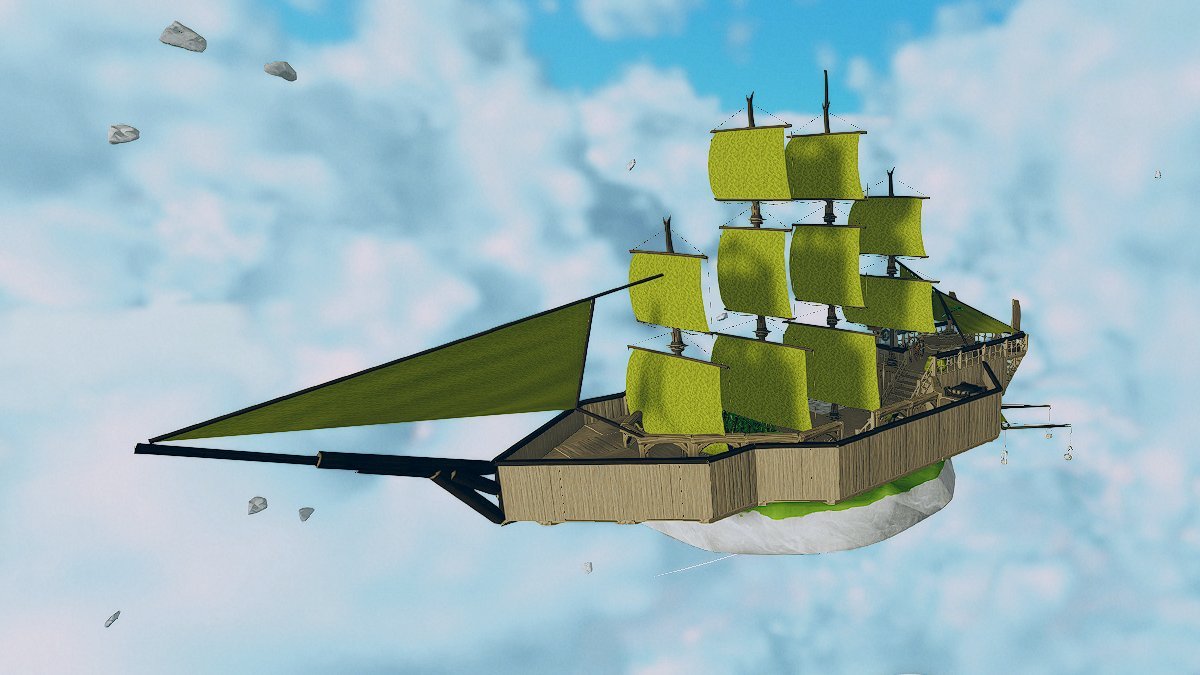
Ship Building
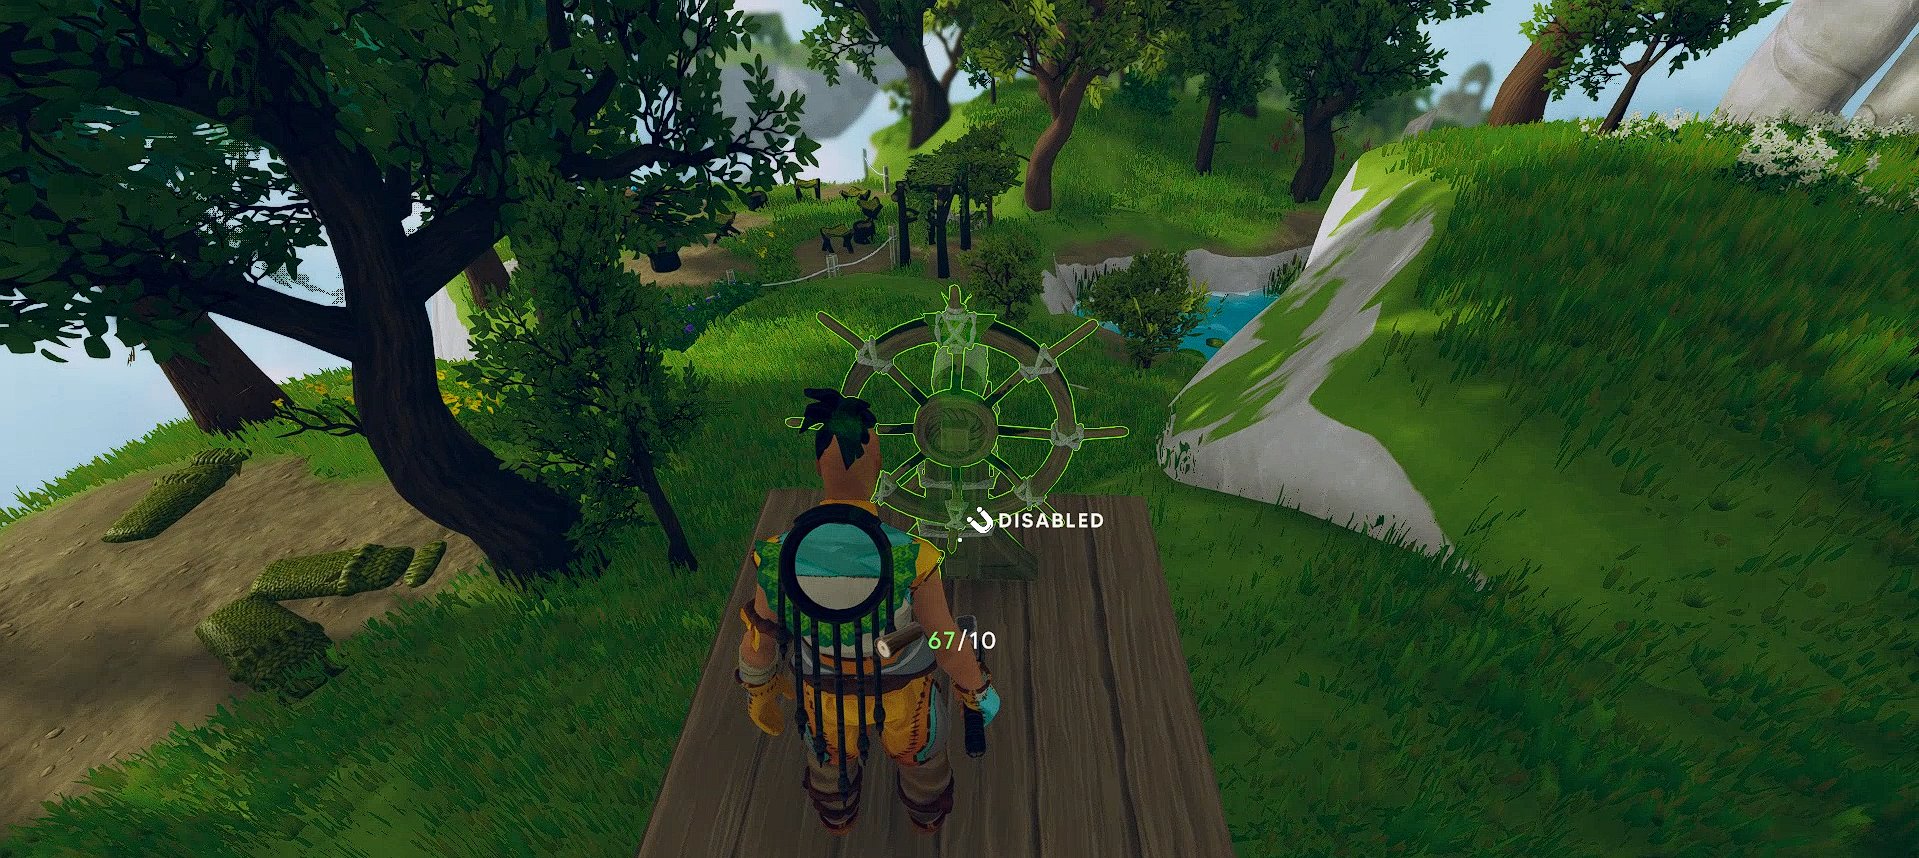
After you claim an island as your home, you will receive the next task – to turn it into a ship that you can control. First, you need to place a Helm. Obviously, the Helm should be aimed towards the part of the island that you are going to consider as the front. I recommend following the default construction of real sea sailing ships and placing the Helm in the rear part of the island at the highest point in the middle. This way, you will have a convenient view while driving the ship.
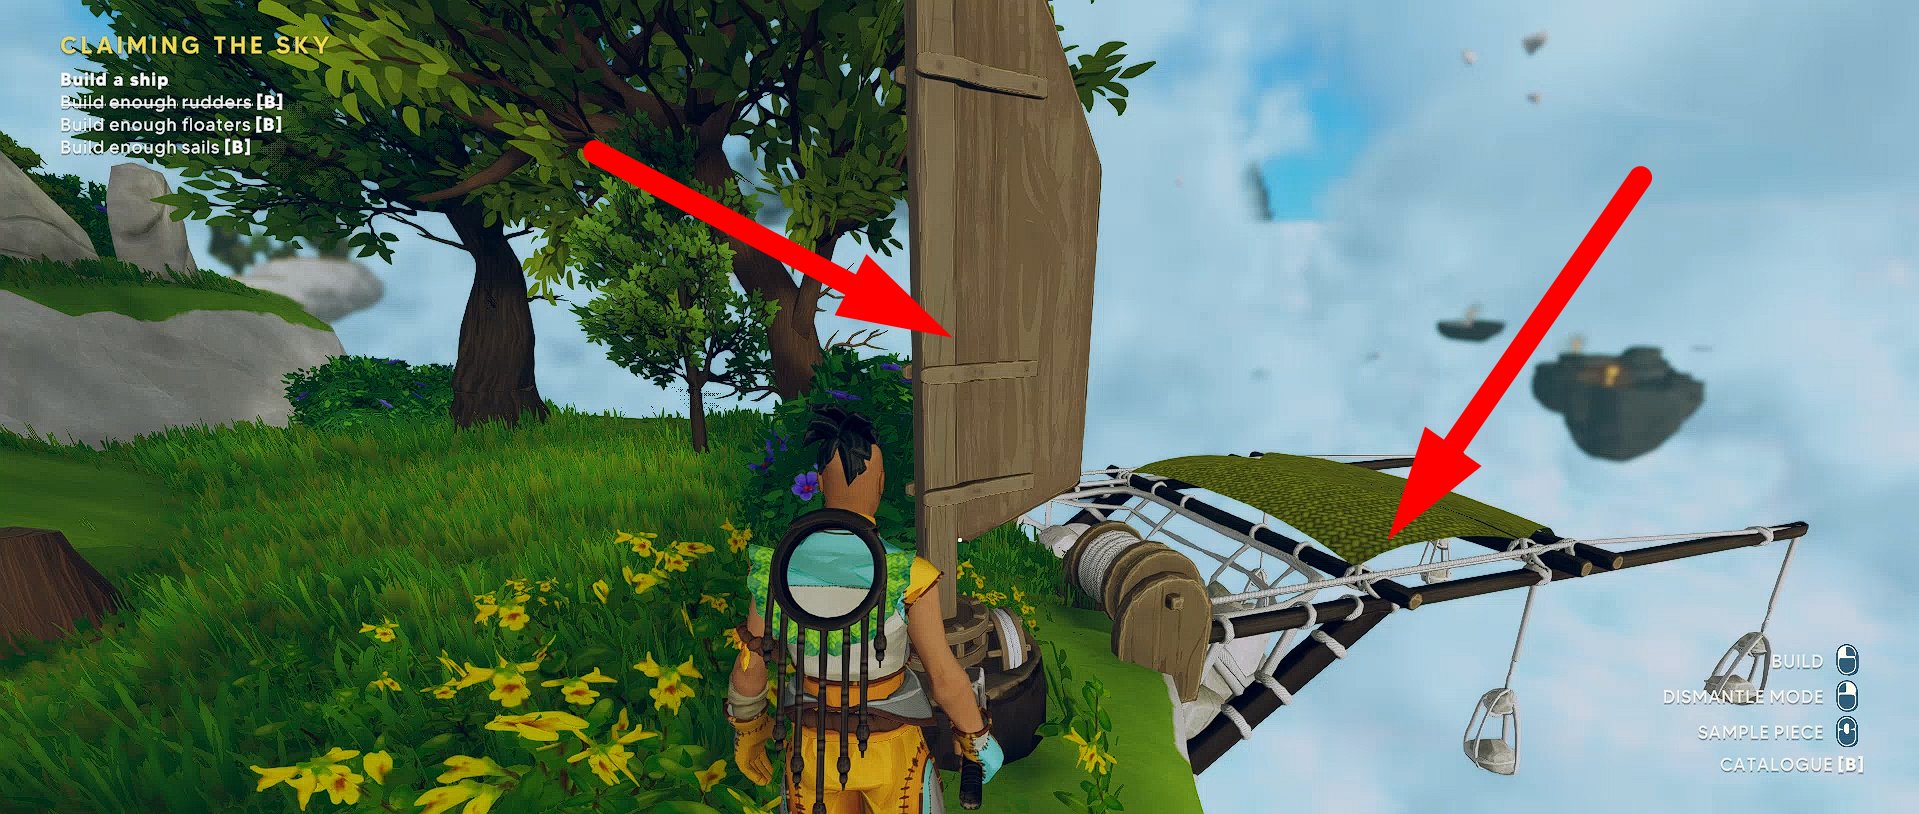
Next, you have to build enough Rudders, Leaf Floaters, and Leaf Square Sails. “Enough,” as I mentioned above, depends on the size of the island you pick. For example, the one I picked required 1 Rudder, 2 Floaters, and 2 Sails.
You can place the Rudder in any position. It will automatically rotate according to the position of the Helm.
The position and rotation of the Leaf Floater also don’t matter. The function of this mechanism is to control the vertical movement of the ship: up and down.
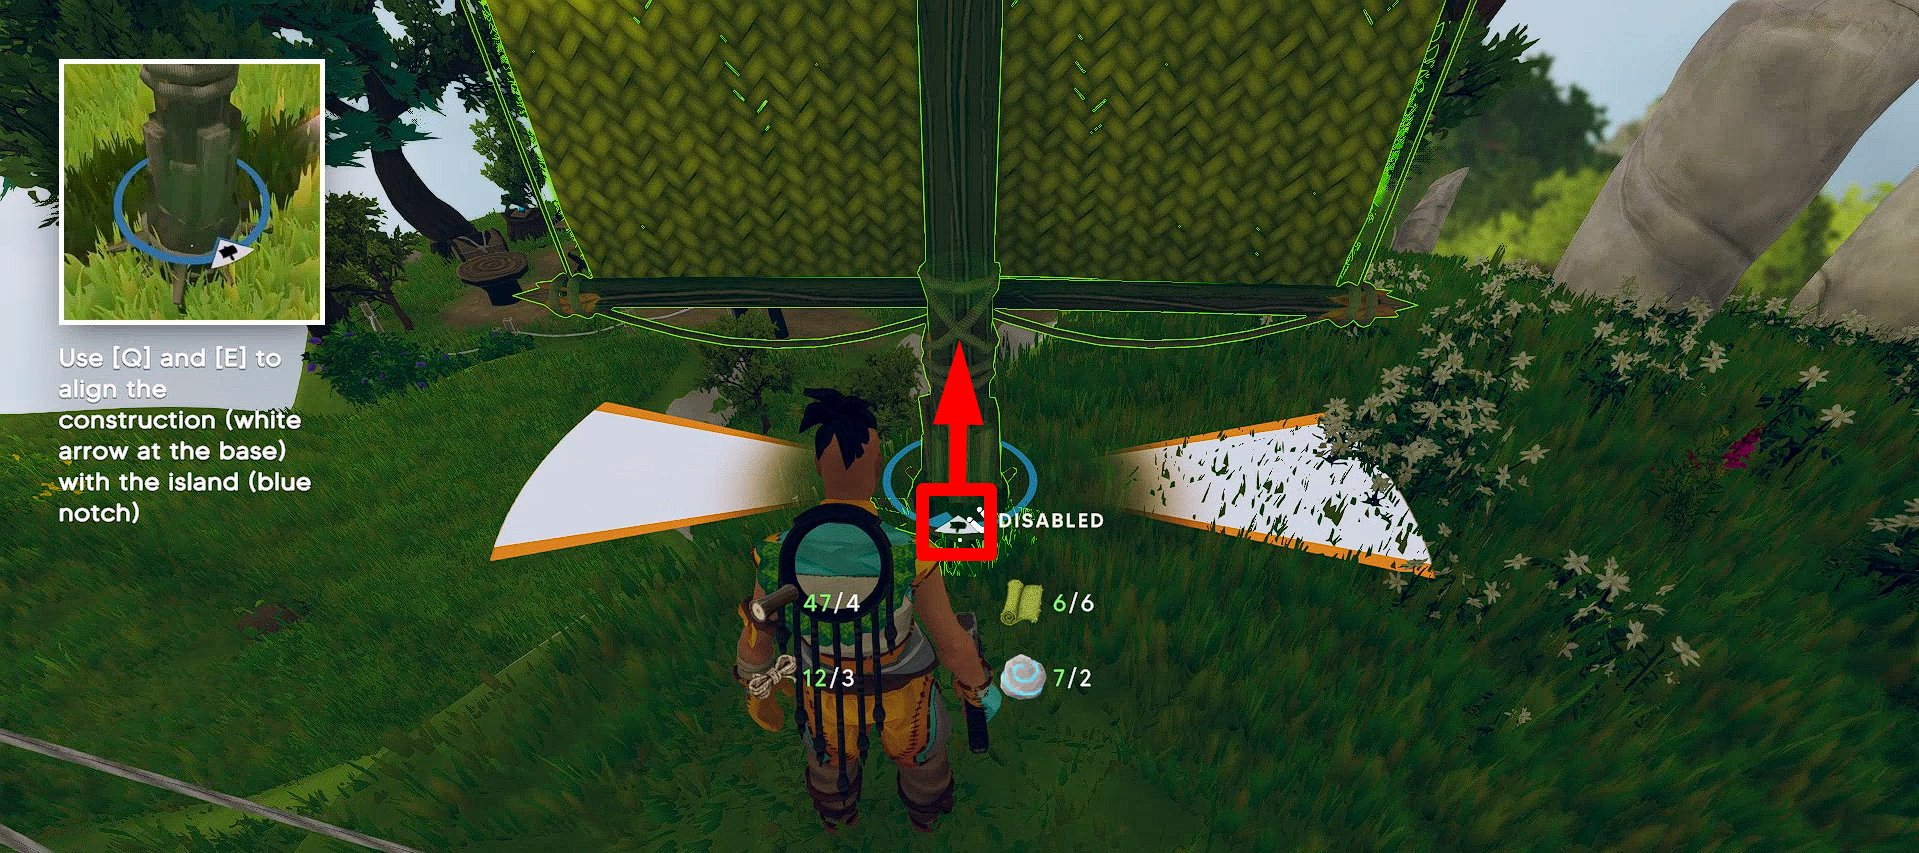
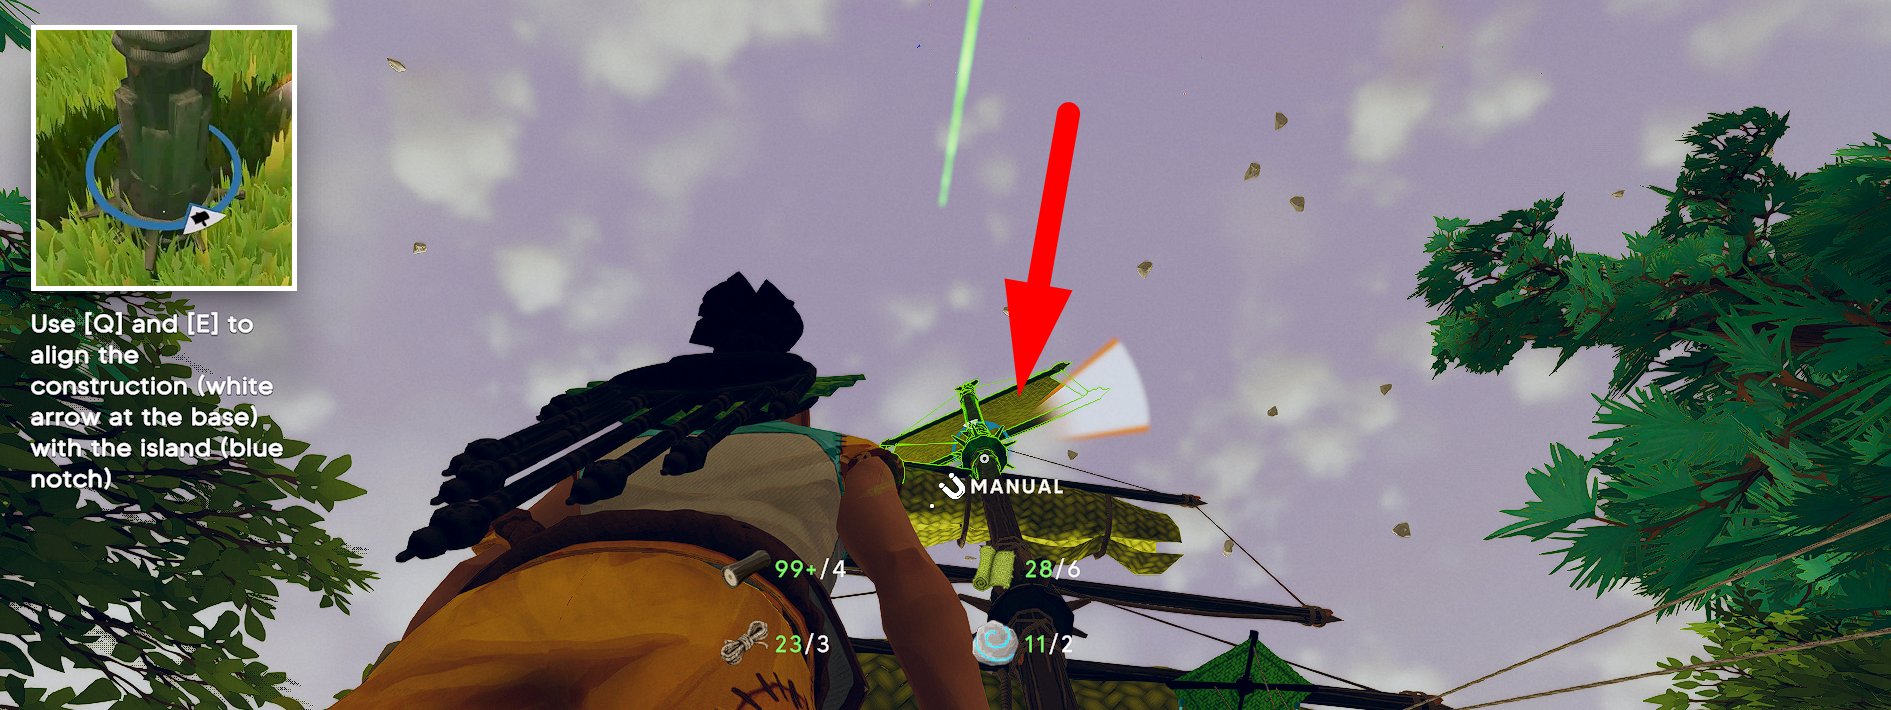
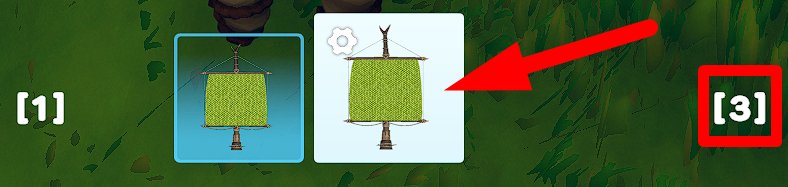
The Leaf Square Sail can also be placed anywhere on your island, but it should be rotated in the same direction as the Helm (hold E or Q to rotate). The direction is indicated by a white arrow at the base. Make sure this arrow is aimed towards the front of your island-ship. If you try to place a sail incorrectly, you will get a message: “This sail is poorly aligned with the island.”
Ship Building Tips and Mechanics
- If you place one sail in front of the other, it will be much less effective. You can see this in Detailed Mode (F) when driving the ship. Make sure your sails are far enough apart.
- You can place sails on top of each other, though, and they will work correctly. To do this, enable Snap Mode by pressing “R.”

- After completing the “Fixing the Past” quest and finding the hidden knowledge on the island, you will unlock the adjustable Leaf Square Sail.

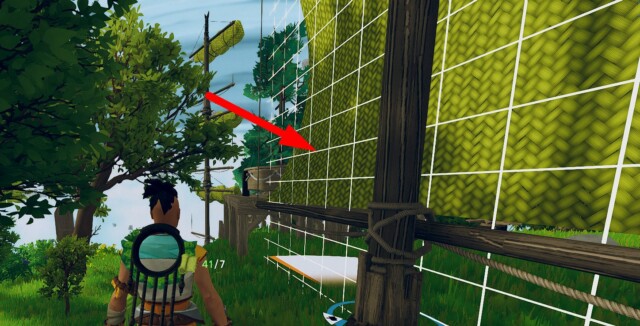
You can adjust its size when installing it: place the sail, look up to set its height, and look left or right to set its width. The bigger the sail, the more it will speed up your vessel, which can also be seen in Detailed Mode (F).
- If you raise the sails and leave the helm, your ship will continue to move. This might be useful for long travels: you can set the course, leave the helm, and do something else while the ship flies towards the chosen direction.


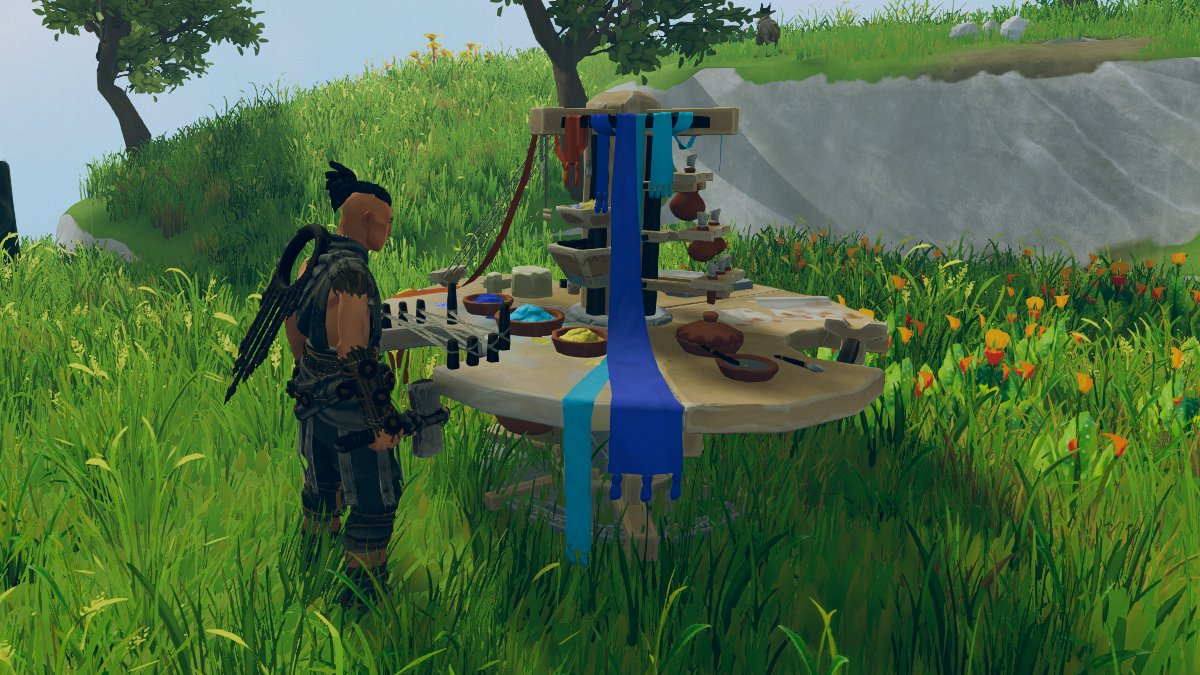
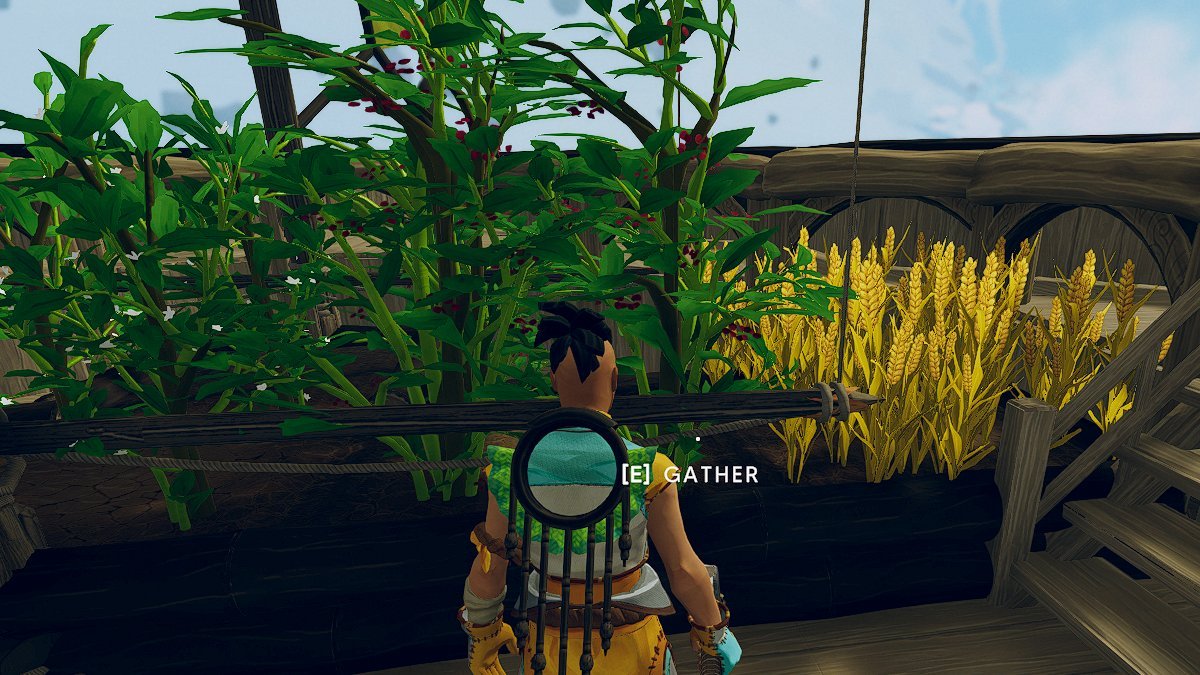
Where to Find Windstone
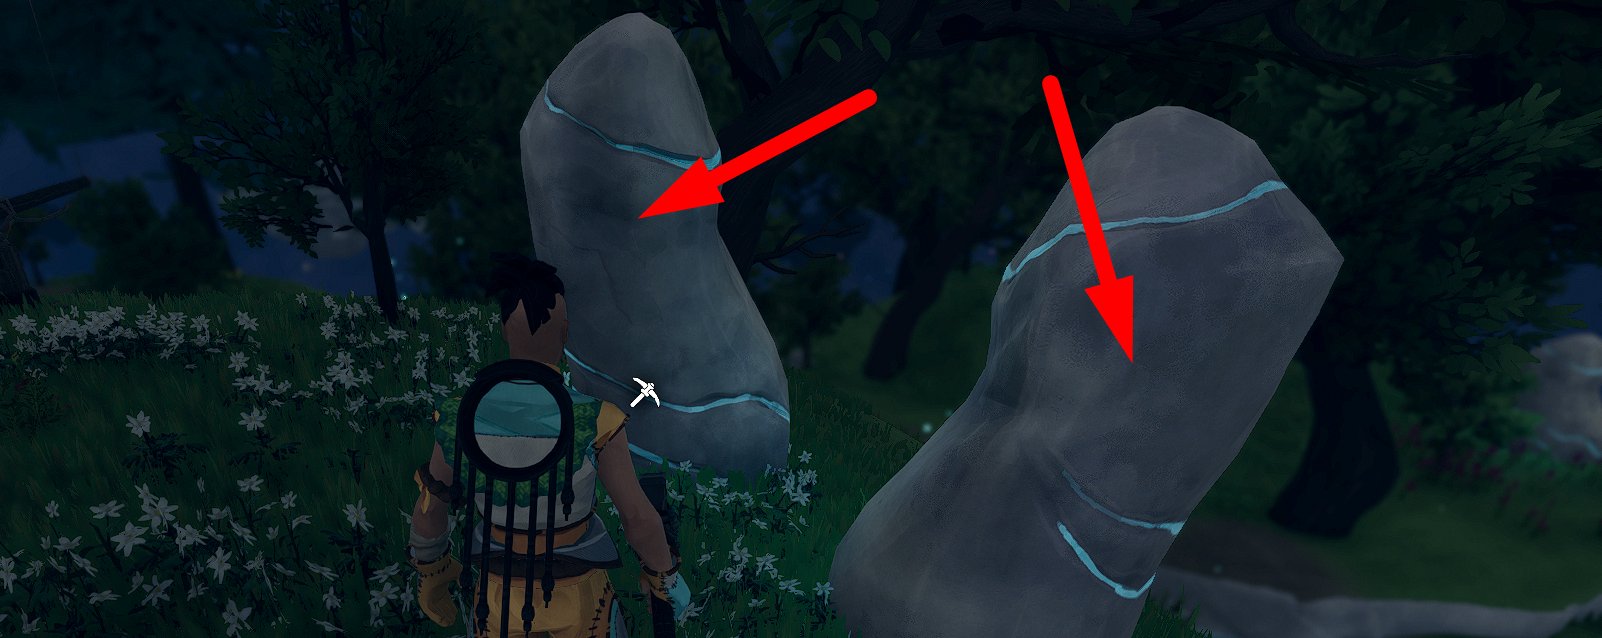
Windstone is a stone with a blue pattern, which is required for crafting Sails and Floaters. The easiest way to gather it is to mine “vertical stones” using a pickaxe. At night, these stones have shining blue lines. They are present on almost any floating island.
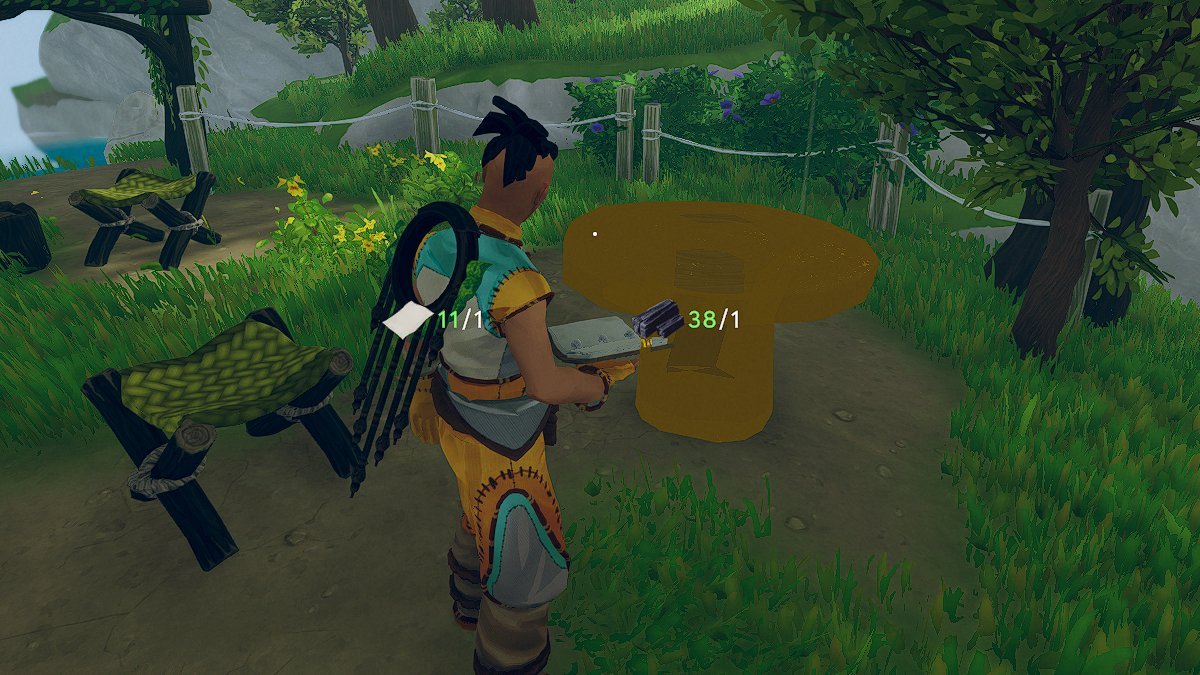
Table-Map Basic Navigation
After this, you will need to build a table-map. Your next task will be: “Use the table-map to set a waypoint to an undiscovered island.”
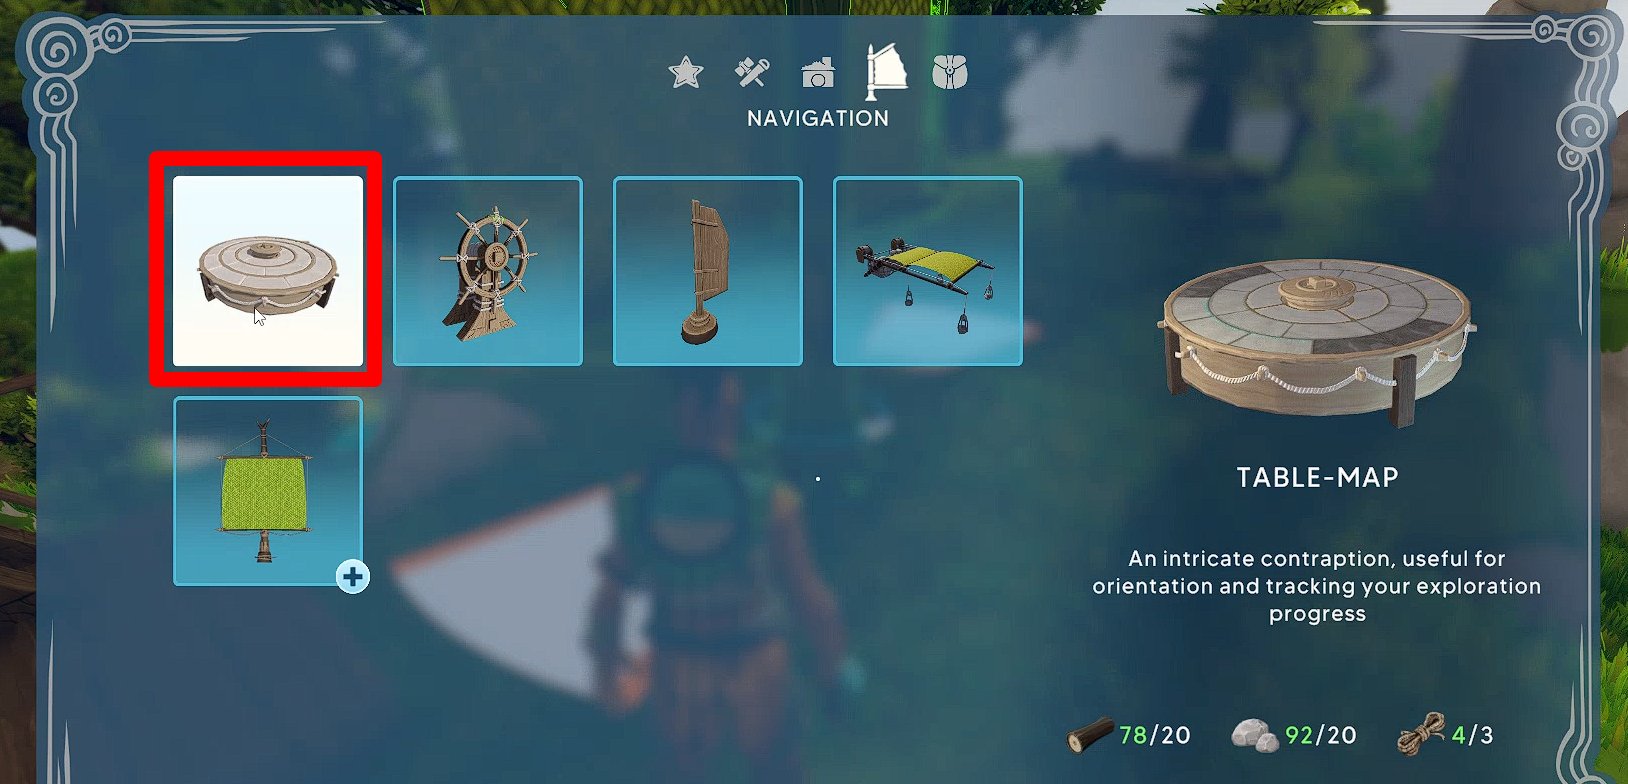
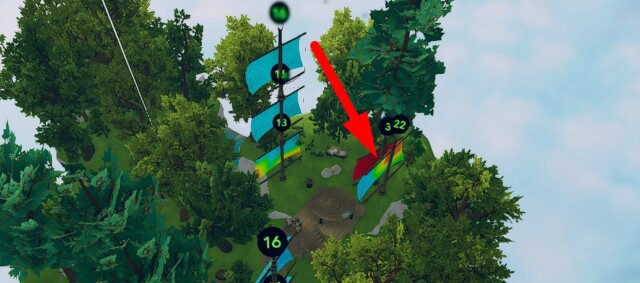
To do this, interact with the table and press RMB on any dark green mark. These marks are islands: bright green ones are discovered, dark green ones – undiscovered. The white marker on the map shows your current position.

Once you set a waypoint, you will receive a new quest: “A World Aloft,” which invites you to “Venture into the unknown and find a way to fight the corruption.”
Ship Control
To control your island-ship, interact with the Helm. Pay attention to the fact that you can switch the view by pressing “Q.”
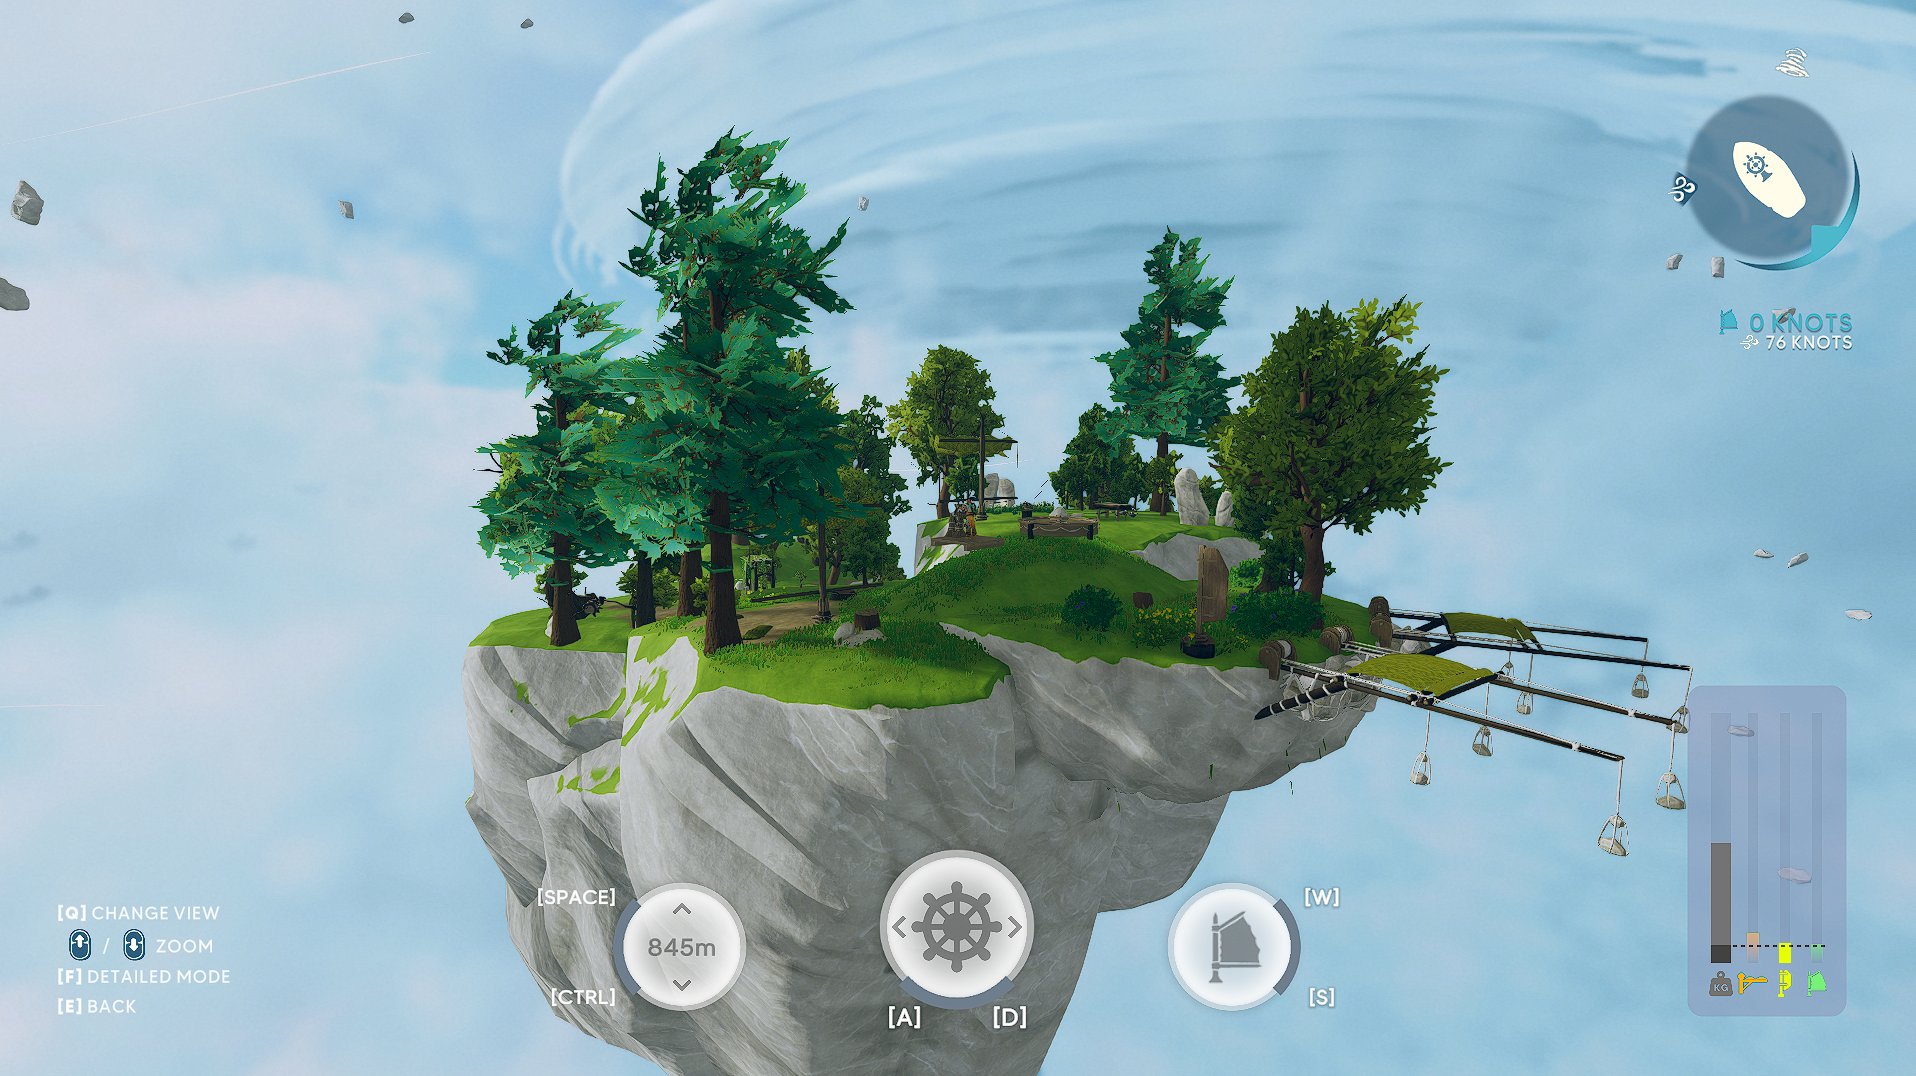
Here is how to control your vessel:
- Q – change view (close / far);
- Mouse Wheel – zoom;
- F – detailed mode (show / hide indicators above the helm, sails, floaters, rudders);
- Ctrl / Space – down and up movement;
- A / D – left and right rotation;
- W / S – move forward and backward.
At the top right corner of the screen, you can also see the direction and speed of the wind, as well as the speed of your ship. If you want your vessel to move faster, you should add more Sails, Floaters, and Rudders.