
Table of Contents HIDE
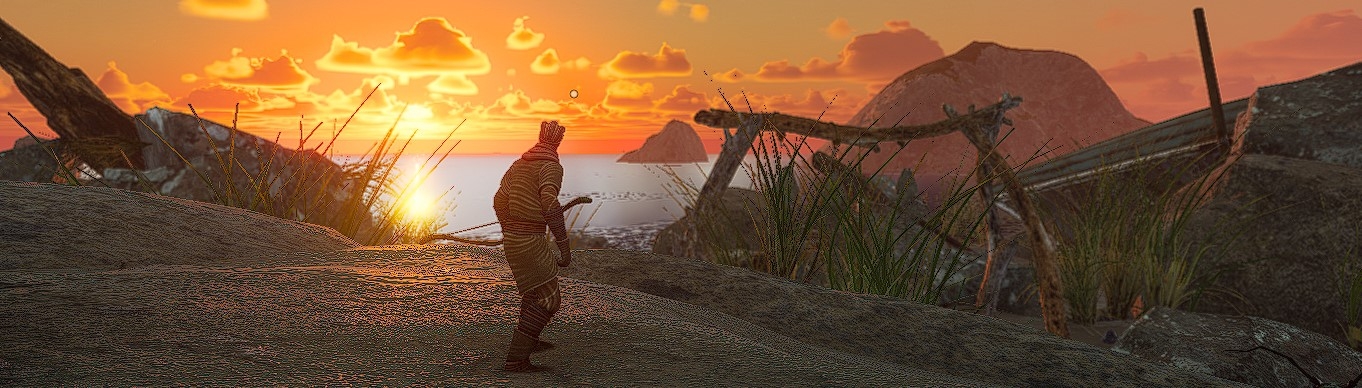
Smalland: Survive the Wilds is a wonderful role-playing game about the adventures of tiny people in a vast world. From the first moments of the game, you are reminded of the books and movies “Arthur and the Minimoys” by Luc Besson. In this RPG, you play as a Lilliputian embarking on a grand adventure. Battles with beetles, building bases on gigantic trees, flying on dragonflies, and colorful sunrises reminiscent of The Witcher 3 – all await you in Smalland. In this introductory guide to Smalland, you will get acquainted with the main game mechanics and find answers to possible beginner questions.
NPCs and Owl Statues
The first thing you should know is that the game has a storyline, so after spawning, immediately talk to the NPCs and carefully read all the instructions. He will send you to the next NPC, named Herne, where you can create your first set of armor. In turn, Herne will send you to the next NPC in the plot, who will send you to another, and so on. Always read the dialogs carefully, as they contain a wealth of useful information about where to go, what to do, how to create various items, where to find resources for them, and more.
During your travels in the open world, you will often encounter owl statues that you can talk to. The owls will tell you about the basic game mechanics, such as taming creatures. Do not ignore this opportunity so as not to slow down your game progress.

All your tasks and conversations with the owls are saved in the Compendium. If necessary, you can always press “TAB“, go to the “Compendium” tab, and reread the information you need.
Survival Basics and first tools
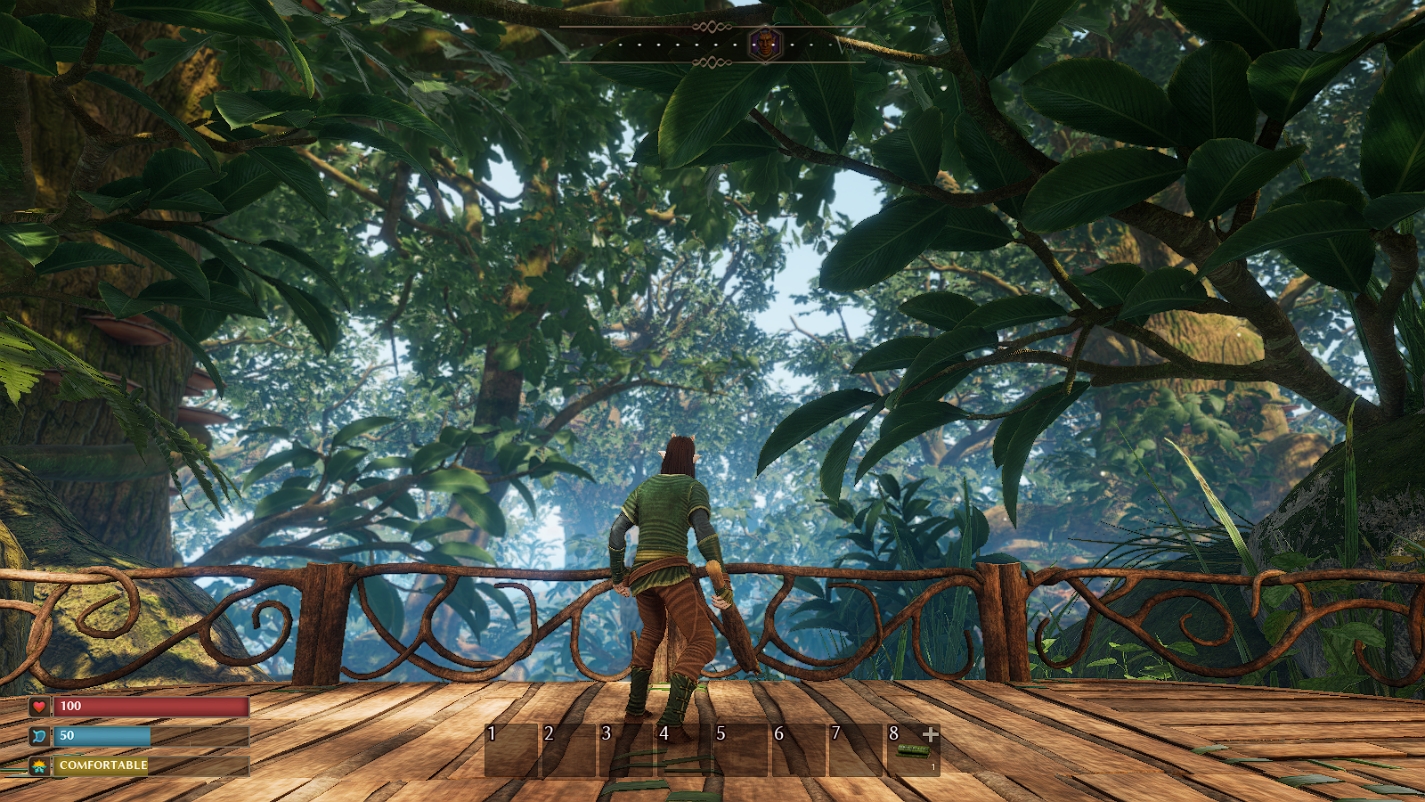
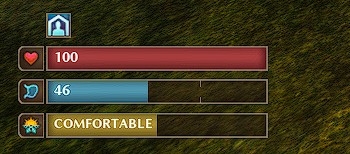
In Smalland, your character has 4 status bars. You can see 3 of them in the lower left corner of the screen: Health, Nourishment, and Temperature. The 4th bar is Stamina. You will see it in the center of the screen when you start using it (consumed for jumps, sprinting, weapon attacks, etc.). All 4 bars can be seen in the character menu by pressing the “TAB” key.
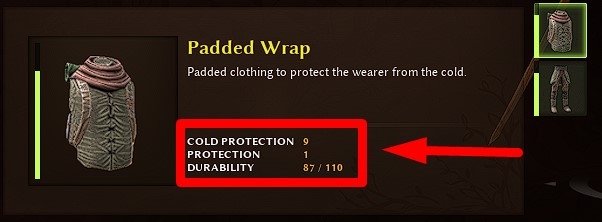
The first thing you need to do is create a new set of armor at Herne. It only requires fiber and wood, which can be found everywhere, so the process will take no more than 5-10 minutes. This armor will not only give you protection from enemy attacks but also cold protection, which will help maintain your character’s temperature in the “comfort” zone. Remember that if your character starts to freeze or overheat, they will lose health and eventually die.
It is also important to learn how to gather food right away. The simplest source is large Edible Mushrooms, which are hard to confuse with anything else. You can harvest them with a basic Wood Hatchet, which is also easy to make from wood and fiber. Press “TAB” and go to the “Crafting” tab. Here you will find all the basic tools you will need. It is recommended to create them all:
- Wood Hatchet (for harvesting plants like mushrooms),
- Wood Club (weapon),
- Builder’s Hammer (construction tool),
- Torch (light source).
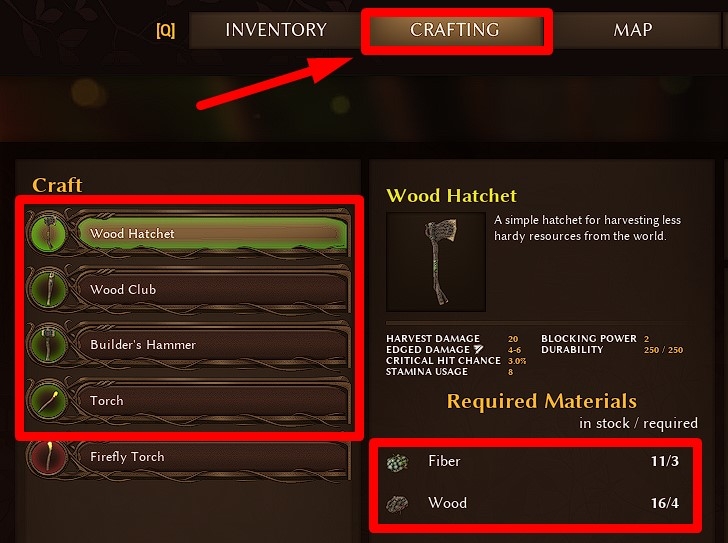
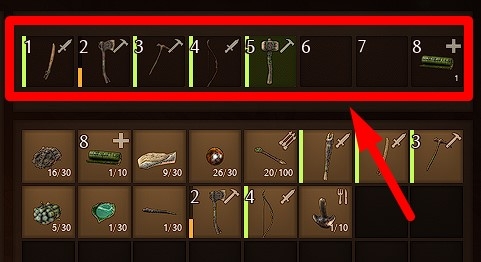
Both weapons and tools, as well as the torch and starting bandages, should be immediately moved to the quick access panel. This way, you can quickly switch between them without going into the inventory by pressing the corresponding hotkeys. You can do this in the inventory.
To eat a piece of the harvested mushroom, right-click on it in your inventory. You will see that your Nourishment bar has filled up a bit.
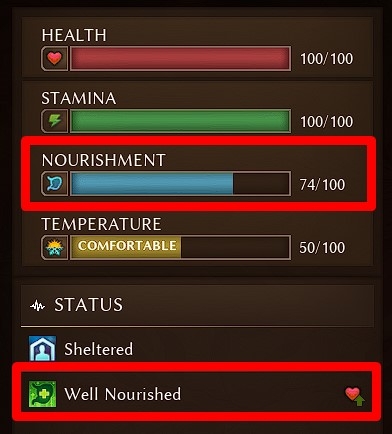
It is important to keep the indicator above 70% (there is a special mark on the game interface). When the Nourishment bar is 70% full or more, your character will receive a positive effect and gradually regain health. If the bar drops to 0, the character will rapidly lose health and eventually die.
Basic resources and how to find them
Basic resources include Fiber, Wood, Resin, and Edible Mushrooms. They can be found everywhere immediately after starting the game. To make finding resources easier, the game has a special “Antenna Sense” mode, activated by pressing the “V” key. This sense highlights nearby enemies and resources.
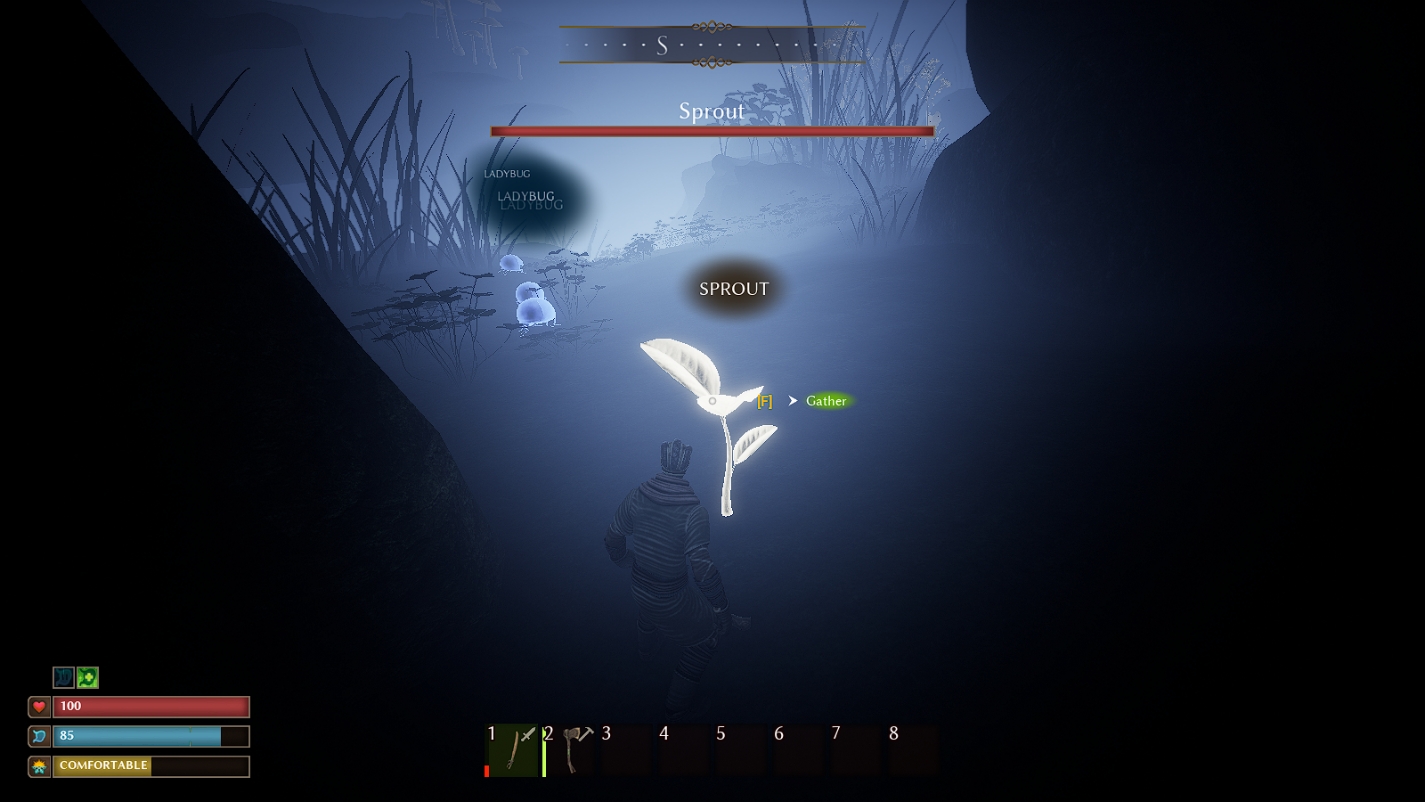
For example, the simplest source of Fiber (which you will need A LOT of, and I’m not joking!) is the Sprout, which can be collected by simple interaction. It is important to stock up on resources right away, as they will be needed very soon and in large quantities.
Useful inventory functions
Here are some useful inventory functions that may not be obvious to everyone:
- Ctrl + Left Click on an item – drop the item on the ground
- Shift + Left Click on an item – split a stack of items
Map and Navigation in the Game
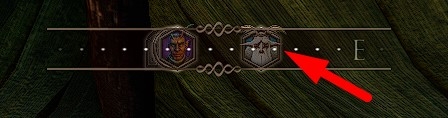
The map can be opened by pressing the “M” key. It displays all NPCs, the location of your respawn point (bed), and the place of your character’s death if they die.
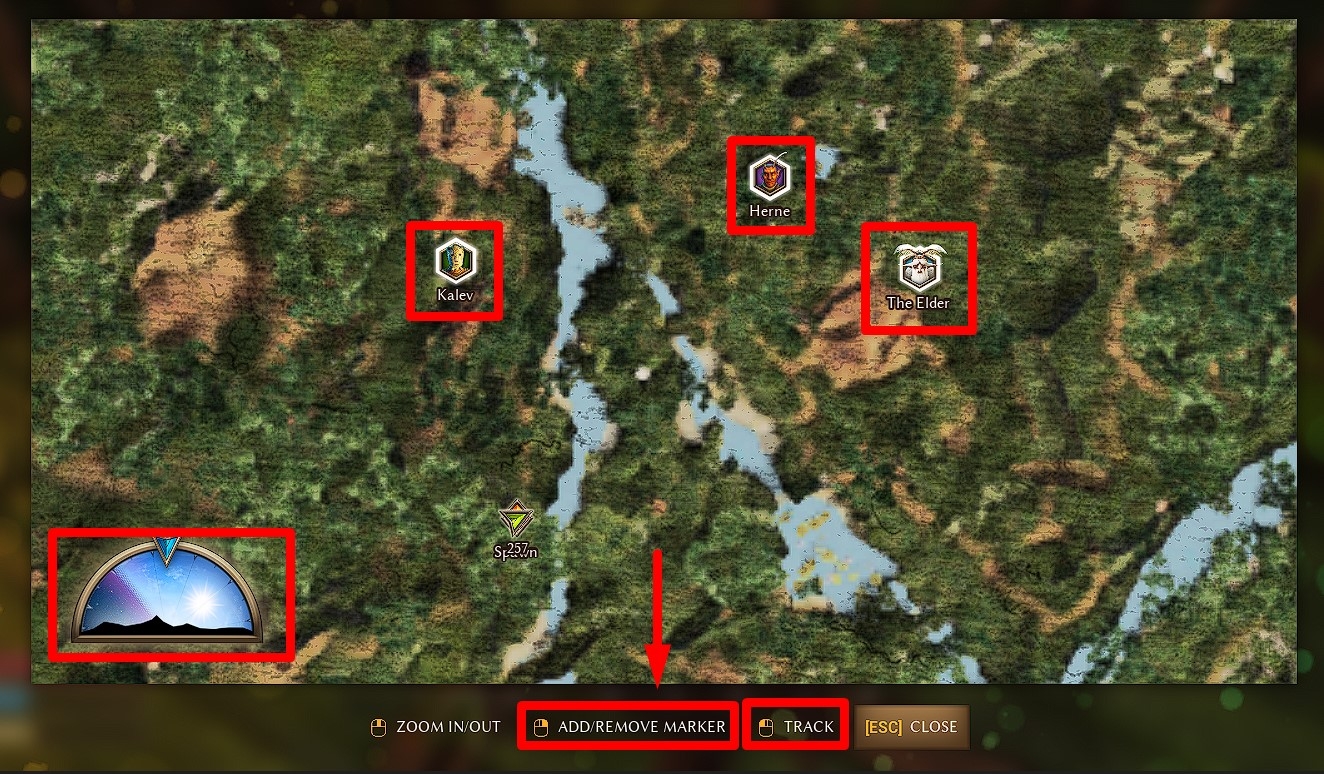
The map has several features that are important for every beginner to know.
-
You can enable “Tracking” for any clickable point on the map, whether it’s an NPC or a character’s death location, by simply clicking on it with your mouse. After that, the point will be displayed on the compass at the top of the screen when you close the map. If you don’t learn this right away, you’ll have to open the map every 20 meters to check your route.

-
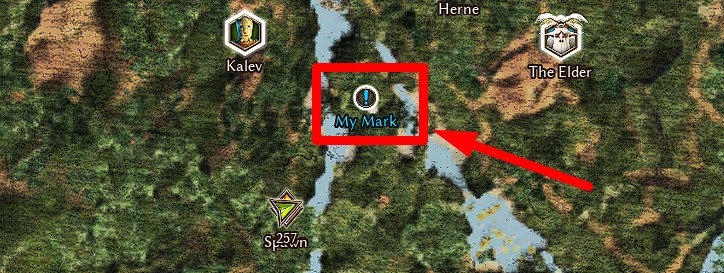
You can create your own markers on the map by simply clicking on it with the right mouse button and entering a marker name. After that, you can click on the marker again to highlight it on the compass. To delete a marker, right-click on it again. This is very convenient.
- The time of day is displayed in the lower left corner of the map.
Now you definitely won’t get lost.
I created an interactive Smalland resource map after fully completing the game. Use this map to find any resources you need. I also created an entire database of all Smalland resources and creatures in one page. You can enter something (for example, “seeds”) in a search field to find information about whatever you need.
First dangers and character death
The first and most important thing is that your character cannot swim. If you jump into the water, you will almost immediately drown. The bad news is that when your character dies, you will lose all your inventory except for the currently equipped weapon / tool and the armor worn by the hero. The good news is that you will respawn at the respawn point, find the place of death by the marker on the map, and retrieve your belongings. Even if you die in the water, the character’s gravestone will appear not at the bottom of the stream but on its shore – at the last “stable” and safe location of the hero before their death.
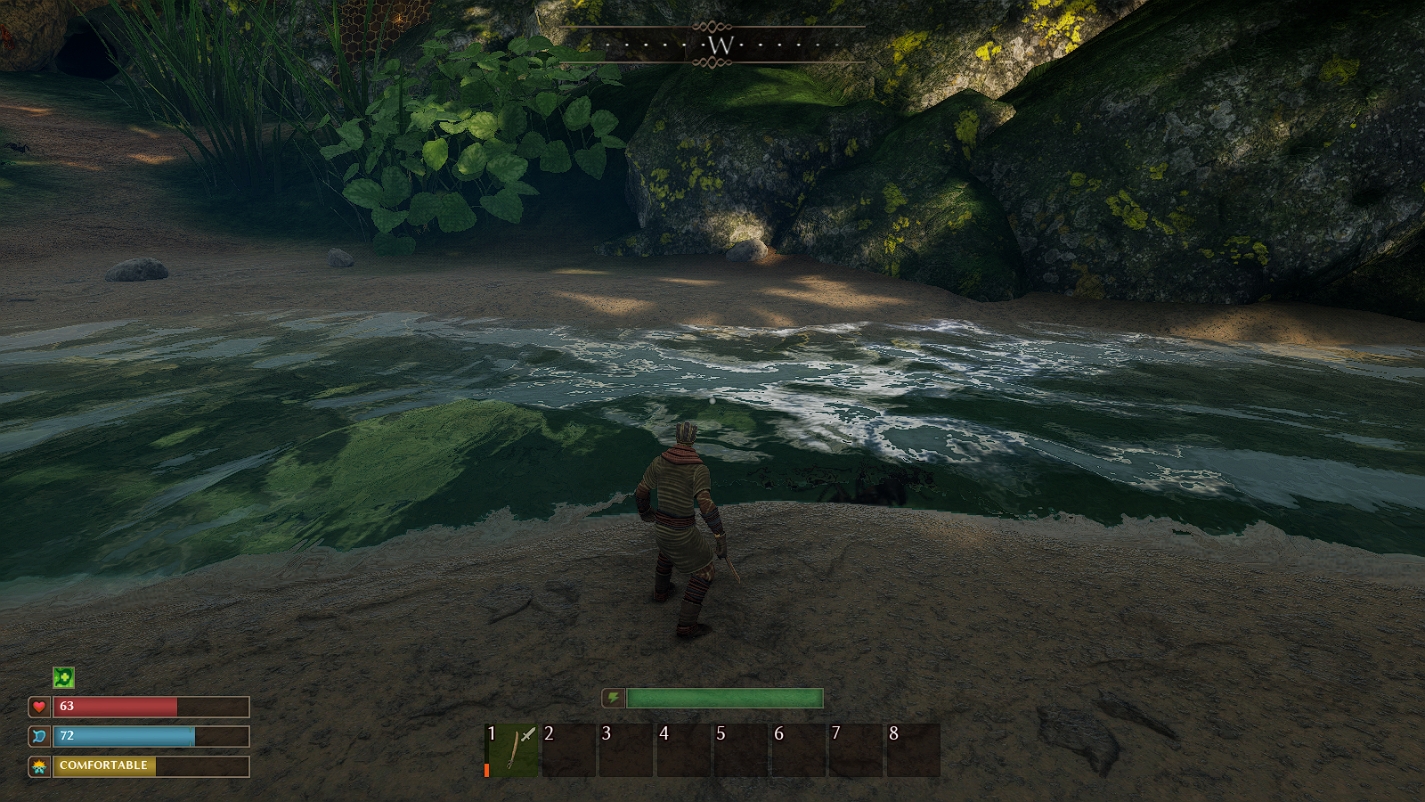
However, I should note that you can shorten your way across the river if you run and jump over it in narrow places, like in the picture above.
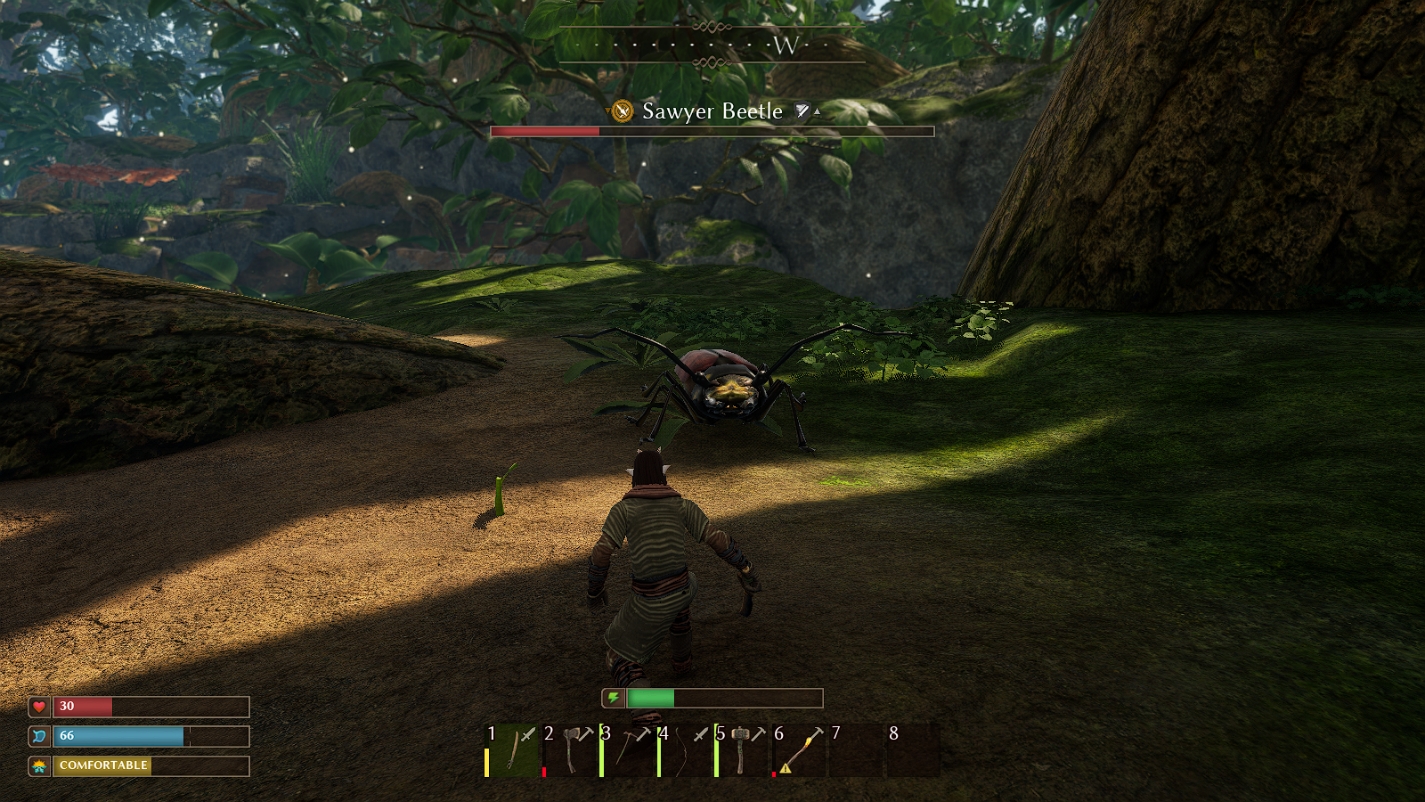
As soon as you descend from Herne down the path, you will encounter your first enemies – ants, which you will have to fend off with your wooden club. Small black ants are not too dangerous. Much more dangerous are the large red ants that you will encounter further on. Essentially, this game is teeming with insects that won’t let you pass peacefully for even 10 meters. At night, most of them become even more aggressive and dangerous. That’s why it’s important to learn to defend yourself from the very first minutes.
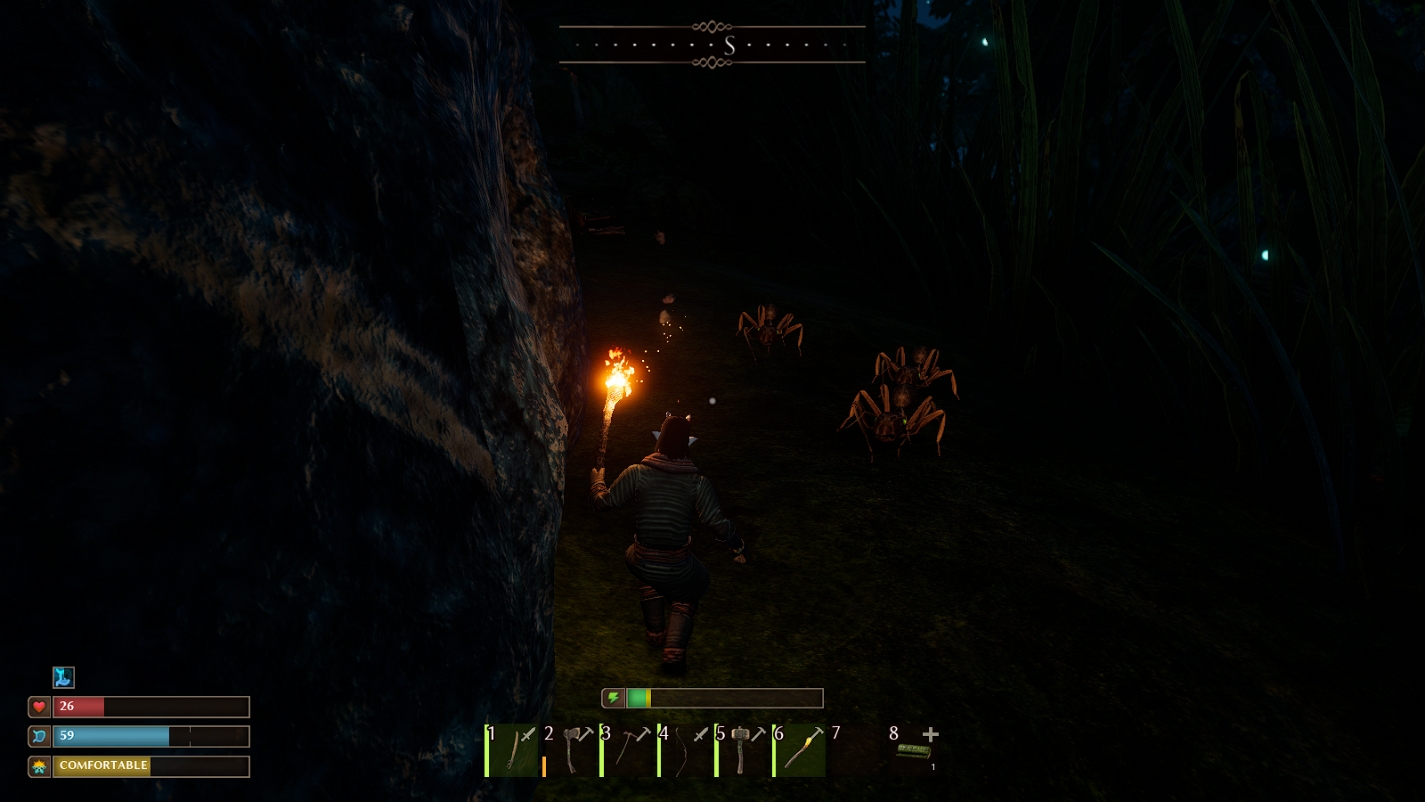
An elementary way to defeat simple enemies in Smalland with almost no damage taken is to hit + roll. When an ant or beetle approaches you, you deal one blow to it and immediately perform a roll, dodging its counterattack. The AI of the enemies in the game is quite strong, so they will not just stand and wait for you to beat them with your club. They will also try to avoid your blows, surround you, flank you, and chase you.
The game also has the ability to block a hit with the “E” key, taking much less damage. However, from my personal experience, I found that this block is practically useless because you simply don’t have time to set it up in time after hitting the opponent.
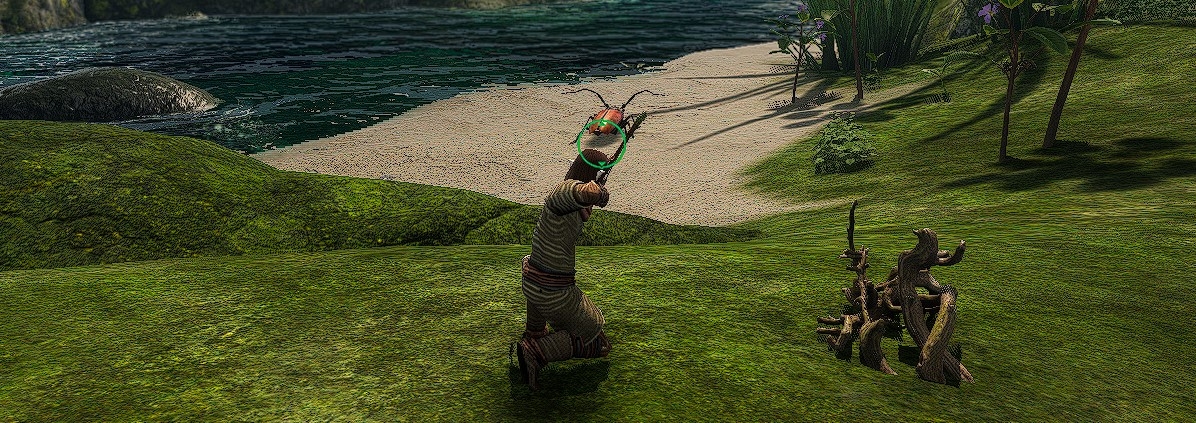
As for the bow that you can craft at the workbench (mentioned later), its damage power depends on the degree of tension. The starting bow is not very powerful and not very accurate, but it allows you to deal good starting stealth damage to ground insects before a fight. To do this, the enemy should not notice you until they are hit by the arrow. Note that the bow is not particularly effective against ants and various ground beetles, but it is great for fighting bees, with which you will very soon and, most likely, very painfully become acquainted.
The building and crafting system
By equipping the Builder’s Hammer, you can start constructing various objects. Start with the most useful one – a workbench. The workbench allows you to create improved weapons and tools, as well as Bandages made of fiber, which can be used to restore health after a battle. Additionally, you can repair your equipment at the workbench. As mentioned earlier, all this requires a lot of fiber, so try to gather this resource wherever you see it.
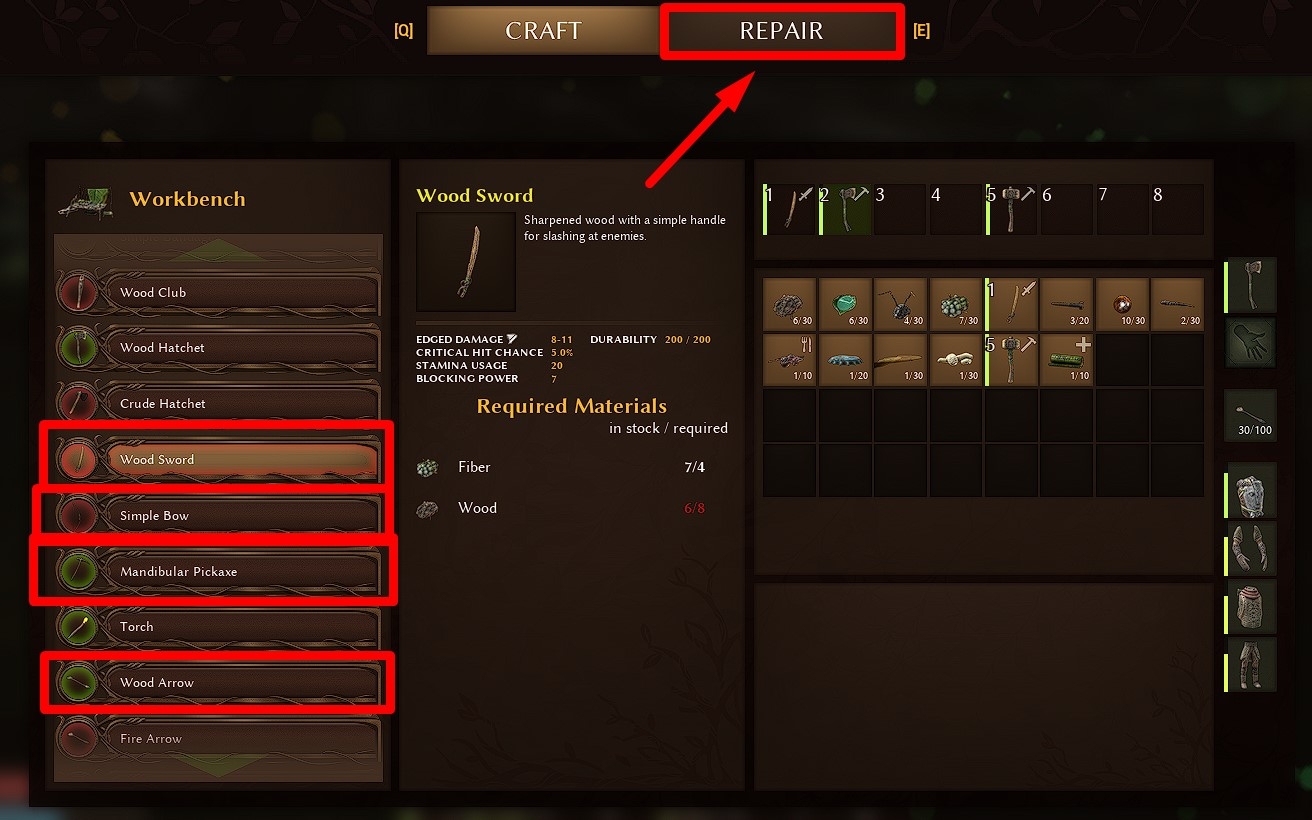
New players are advised to immediately create all available tools and weapons at the workbench: Wood Sword, Simple Bow, Wood Arrow (don’t forget to equip the arrows in the corresponding slot in the inventory, otherwise the bow won’t shoot!), and other items (anything you have resources for). The Wood Sword will be your primary weapon for the next several hours.
Note that you don’t have to set up the workbench in one specific location. You can essentially “carry” it with you. When you finish crafting on the workbench, equip the Builder’s Hammer and dismantle it with the “C” key (you will receive 100% of the resources spent on construction). If necessary, you can always reassemble the workbench in any location within a few clicks.
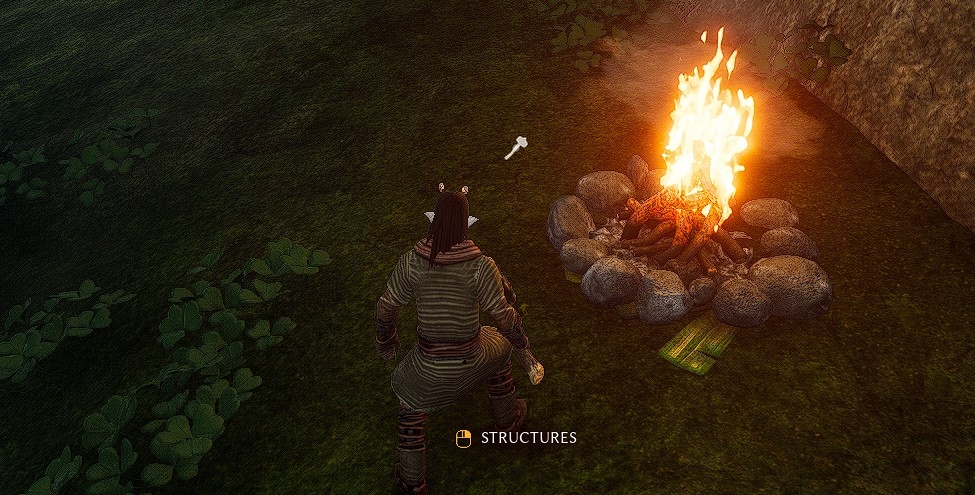
The second thing you should build is a Campfire. The Campfire allows you to cook food, which, as you will soon find out, is vital. For example, a raw piece of mushroom only satiates 3 units of Nourishment, while a Mushroom Steak, which can be cooked from 3 such pieces, increases Nourishment by a full 30 units and additionally blocks hunger for 180 seconds (3 minutes).

Initially, only a few dishes will be available, but as you progress in the game, you will be able to cook other dishes, made, for example, from parts of defeated ants and beetles.
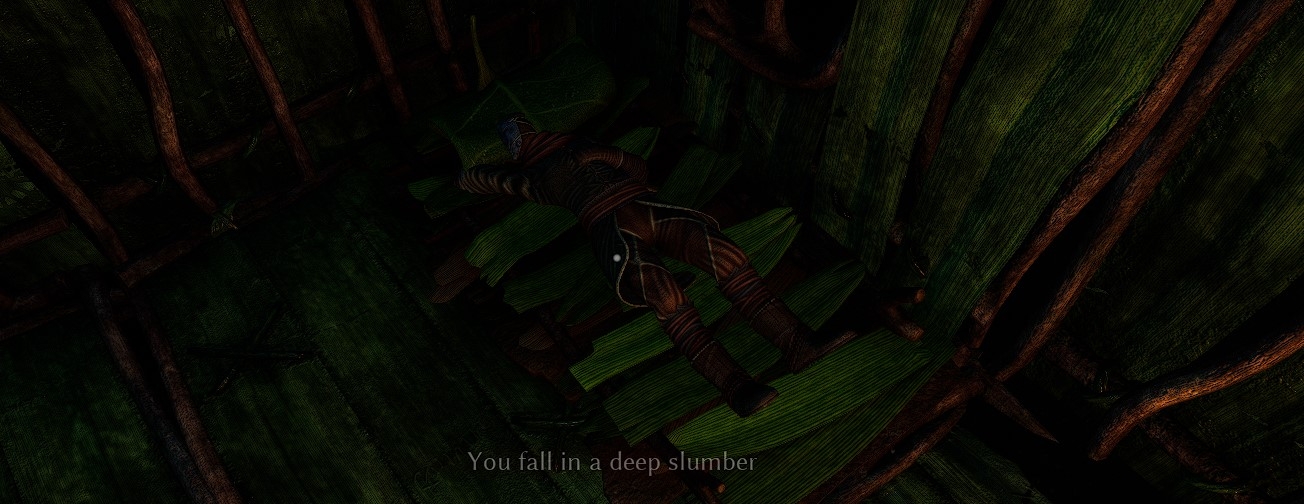
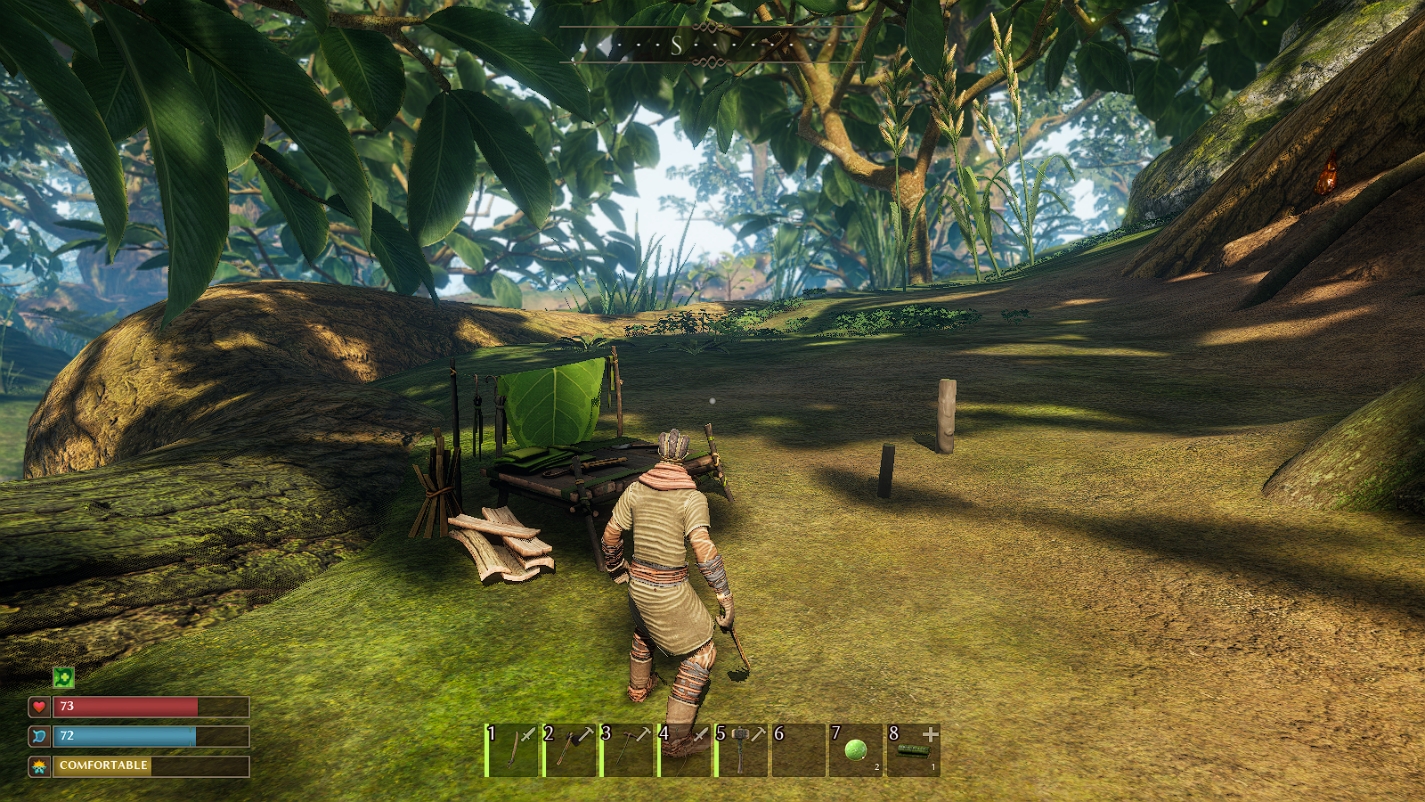
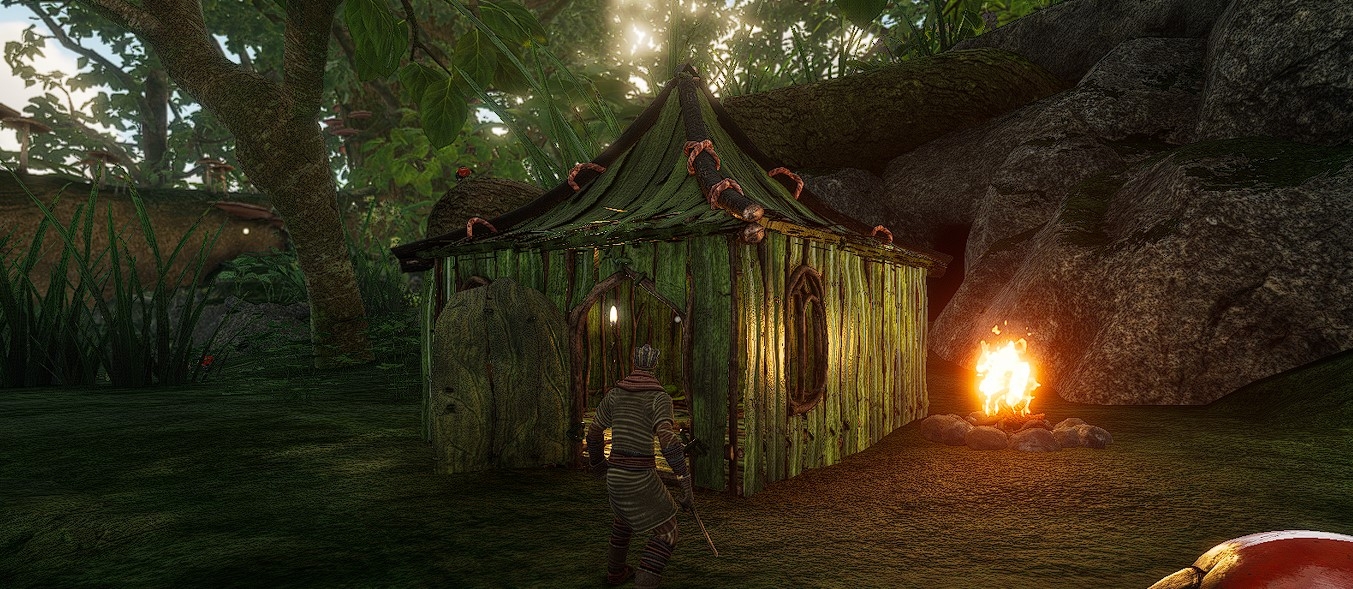
The last important thing is the Simple Bed. After placing it anywhere, you can activate it with the “F” key. After that, this bed will become your character’s respawn point in case of death. To be able to sleep on the bed (skip the night and wake up in the morning), the bed must be inside a shelter. A shelter is considered a structure that has a foundation, is protected by walls on at least three sides, and has a roof. In fact, by spending 5-10 minutes gathering resources, you can easily build a small house like this, where you can place your bed and chests.
As mentioned earlier, it’s best to place your house closer to the center of the map, as this is the area where you will appear quite often. In addition, there is a trick in Smalland that helps you “teleport” to your respawn point. To do this, simply exit the menu and restart the game.
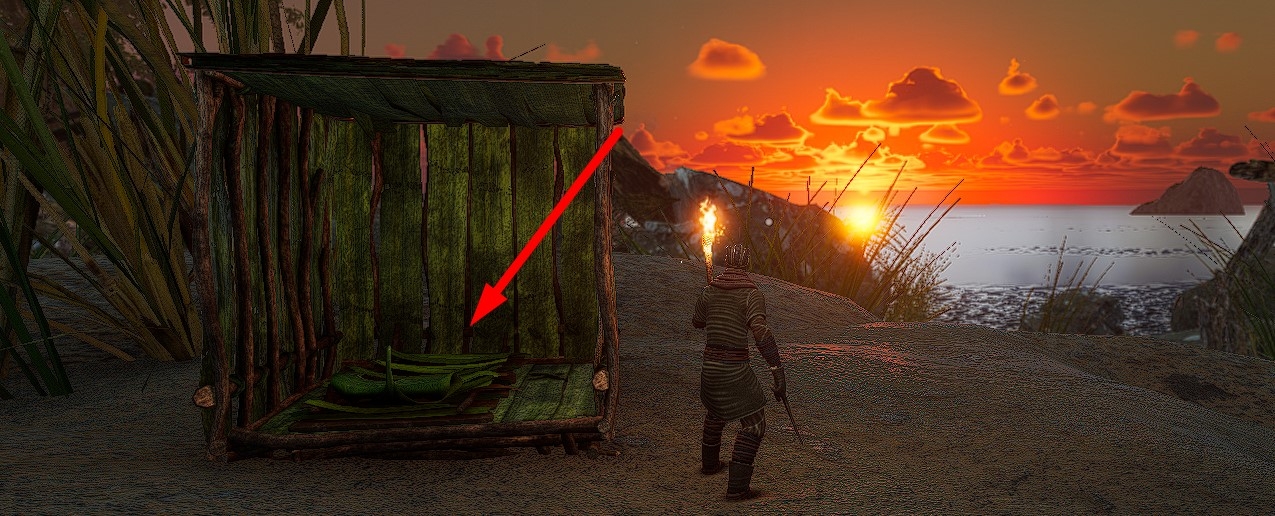
If you are far from your main house and don’t want to run through the forest in the dark, you can quickly build yourself a small hut, like the one in the picture above. The bed will also work in such a hut. I also tried some “shack” options, consisting of a roof and foundation, but the bed flatly refuses to work without three walls on the sides.
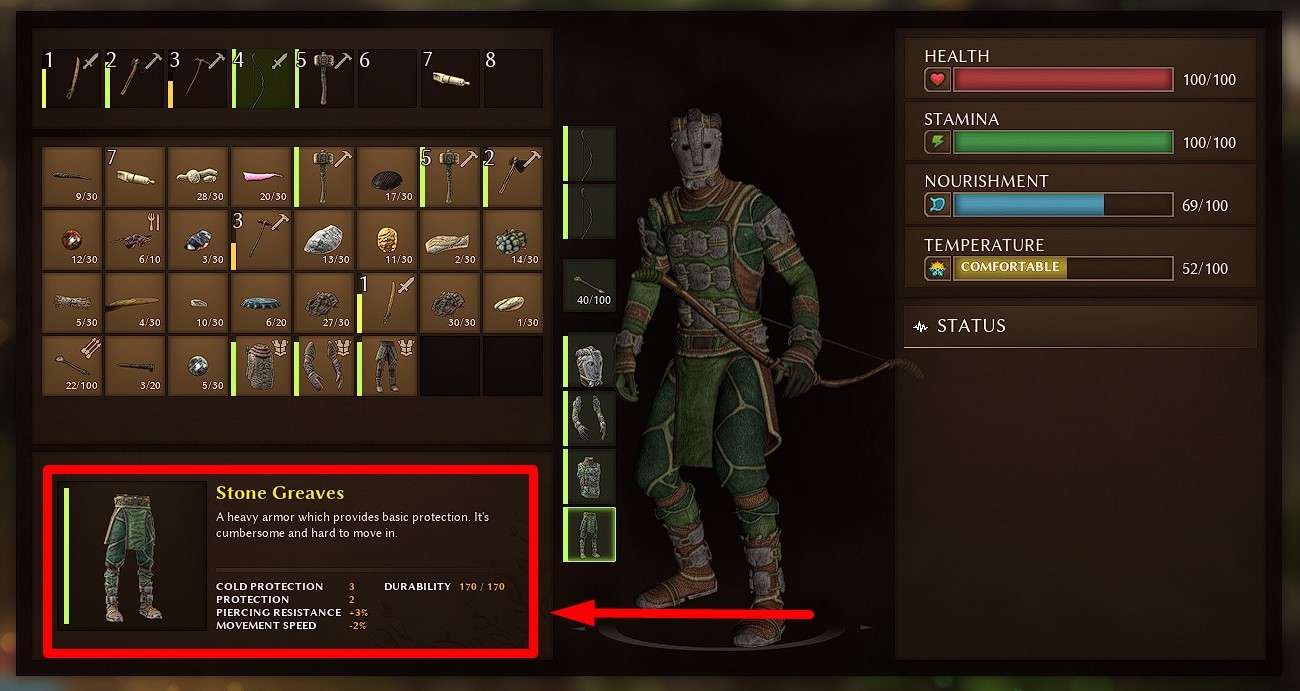
Stone Armor
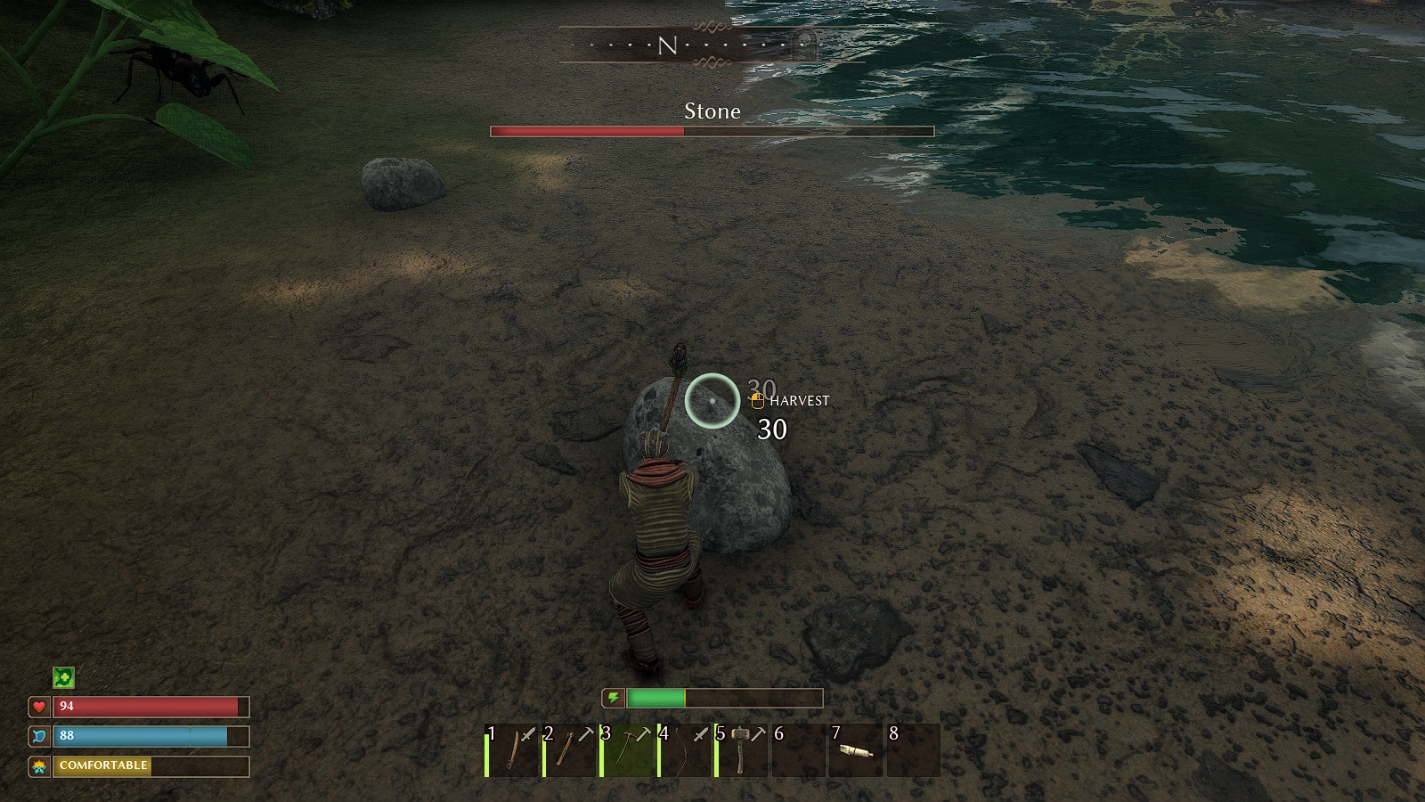
Head to Kalev, who lives on the other side of the river. He can make you new, more powerful stone armor. However, before visiting him, stock up on fiber, wood, and stone (if you have already made a pickaxe).
If you don’t have a pickaxe yet – no problem! Kalev will tell you about mining stone and that large Bull Ants live not far from his camp. To create a Mandibular Pickaxe, you will need to kill such an ant and obtain a Bull Ant Mandible, necessary for the recipe. With the pickaxe, you will be able to mine stones, which can be found in large quantities near Kalev’s camp and along the riverbanks.
Always try to obtain new armor as soon as possible. The further you move away from the center of the map, the stronger the enemies become.
Taming Creatures
After visiting Kalev, head to Skadi, who lives southwest. The journey will be quite long, so I’ll give you one obvious tip: you don’t have to stick to the paths. For example, you can cut your way by jumping off not very high elevations. This will save you some time.
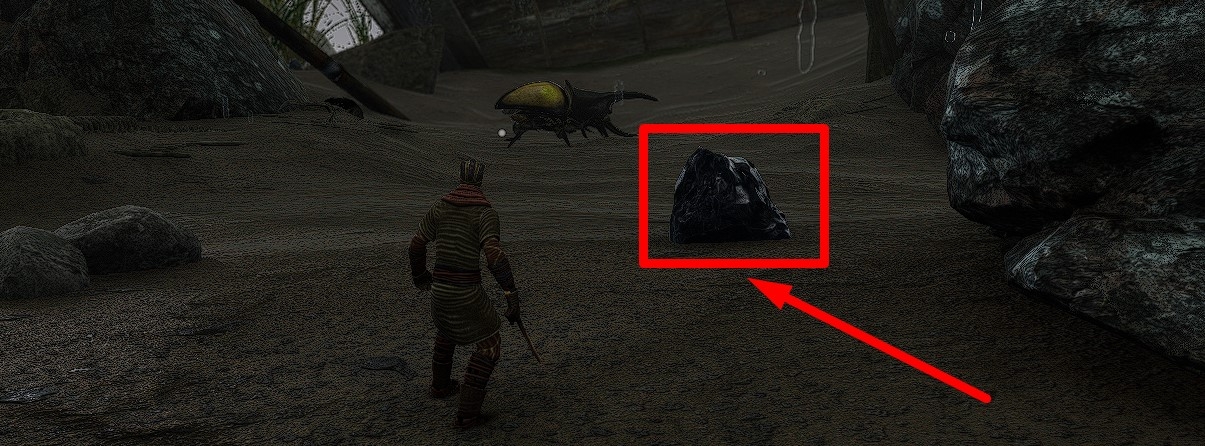
Skadi will send you to kill a Rhino Beetle, which lives on the shore even further southwest. You are almost certainly not going to succeed, but I still recommend you visit this shore. There, with a pickaxe, you can mine flint to create more powerful weapons. Go to the shore, stock up on flint.
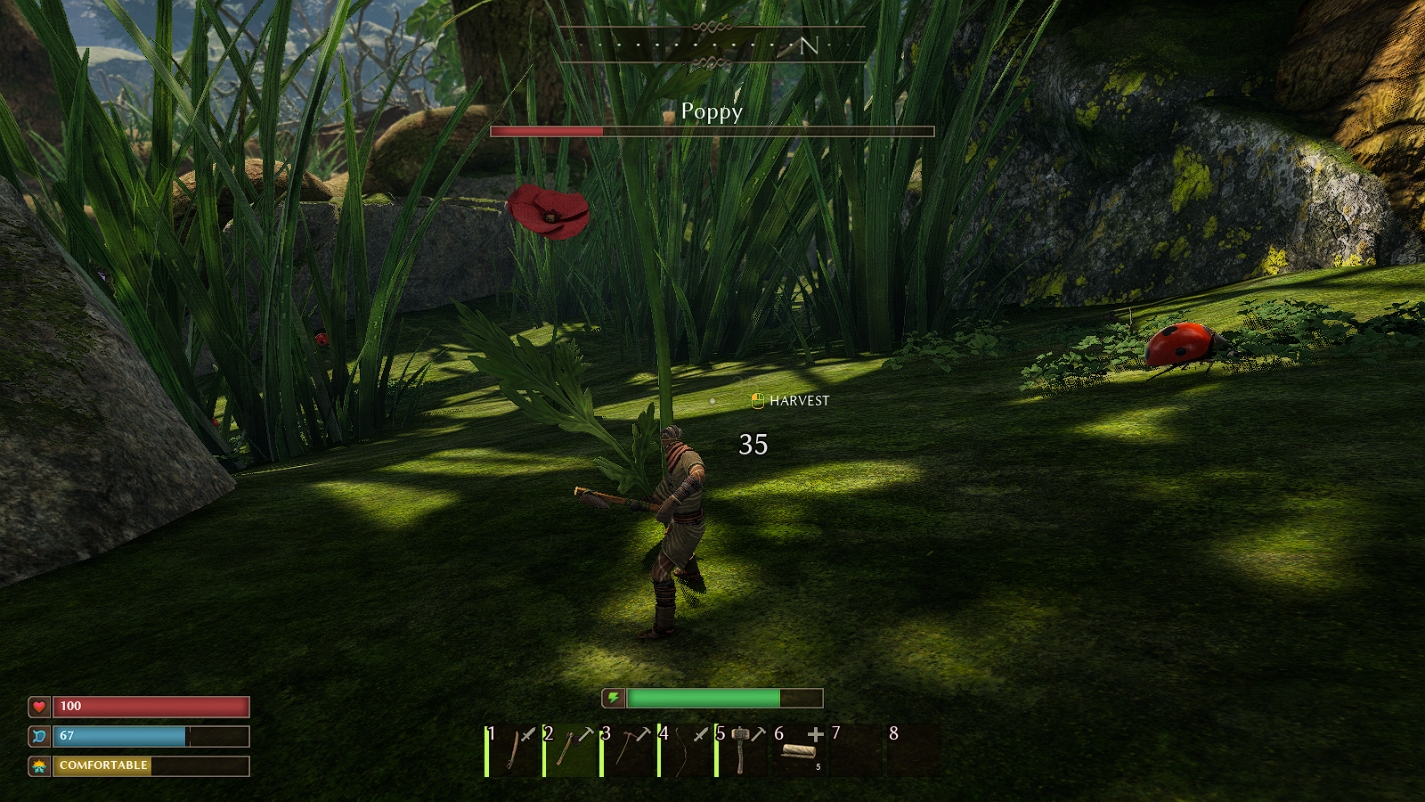
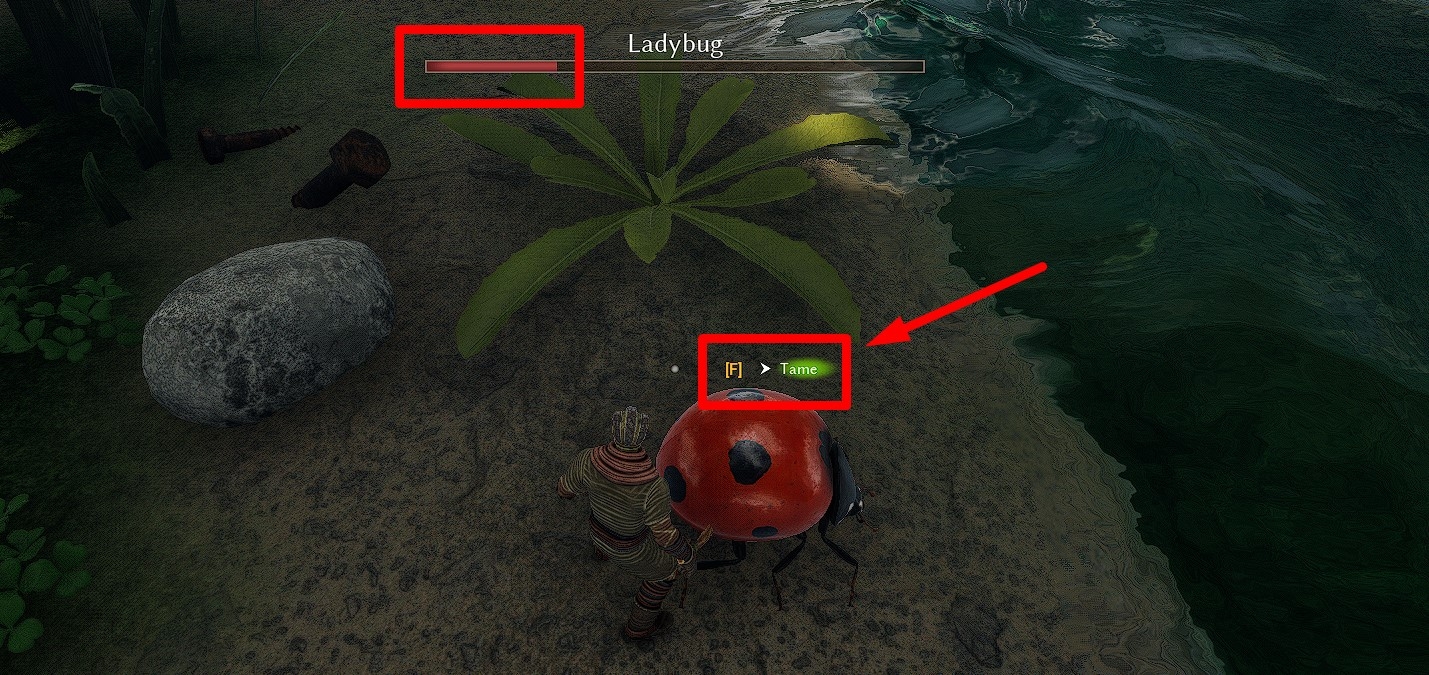
Also, near Skadi, you can find many poppies, from which you can obtain nectar. With nectar, you can create a Ladybug Travel Kit at the workbench, which will allow you to tame your first pet – a ladybug. Gather some nectar from the poppies, create a Ladybug Travel Kit, and return to the center of the map (you do remember the teleport trick I wrote about earlier, right?)
You can learn more about taming creatures from the owl statue in Skadi’s camp. To tame a creature, you should fight it and leave it with 10-30% health. Then you can approach it and press “F” for taming. Ladybugs run quite fast, so catching them won’t be easy.
A tamed ladybug will follow you, and you can use it as a chest.
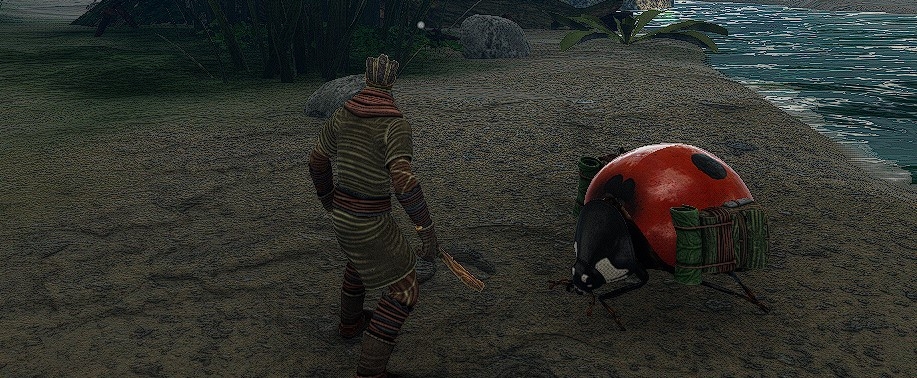
However, be aware that aggressive bull ants and other insects will attack your ladybug pet. If your ladybug pet is caught by the beetles, it will die.
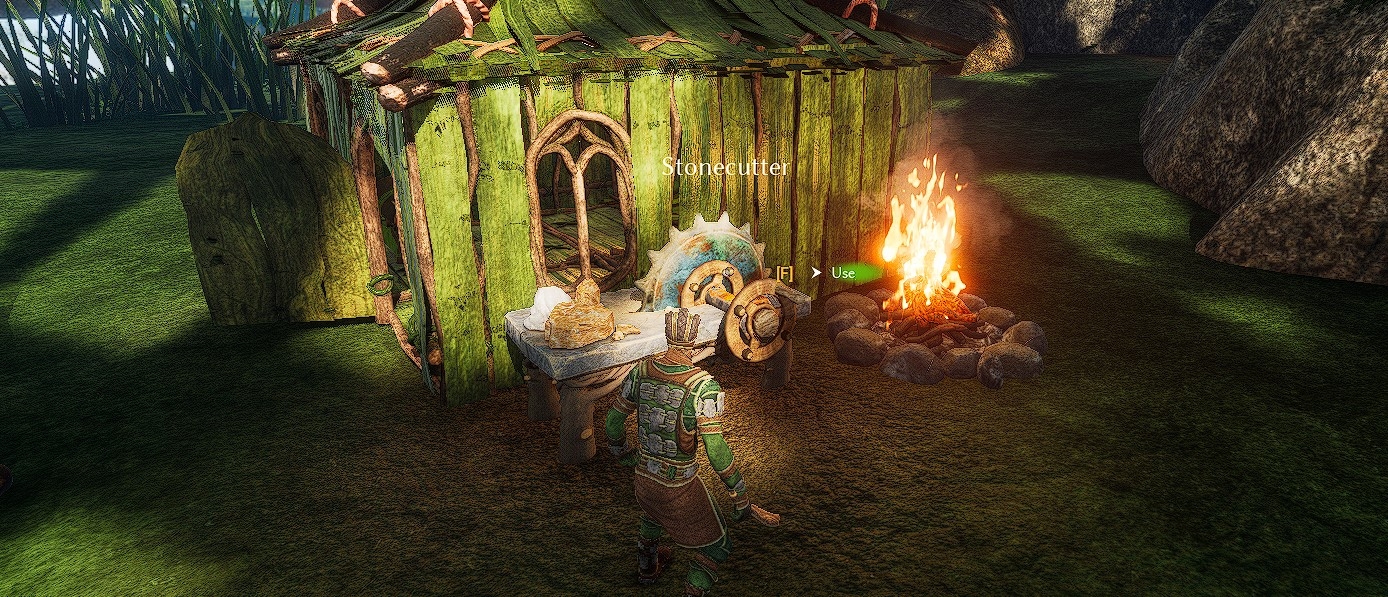
Stonecutter
Finally, you should create a Stonecutter. This workstation will allow you to craft more powerful weapons from the flint, which you (I hope) have collected on the southwestern shore. To create it, you’ll need 2 new resources: Bottlecap and Screw. You can find them in the center of the map, not far from the river crossing. I’ve marked these locations on the map for you.
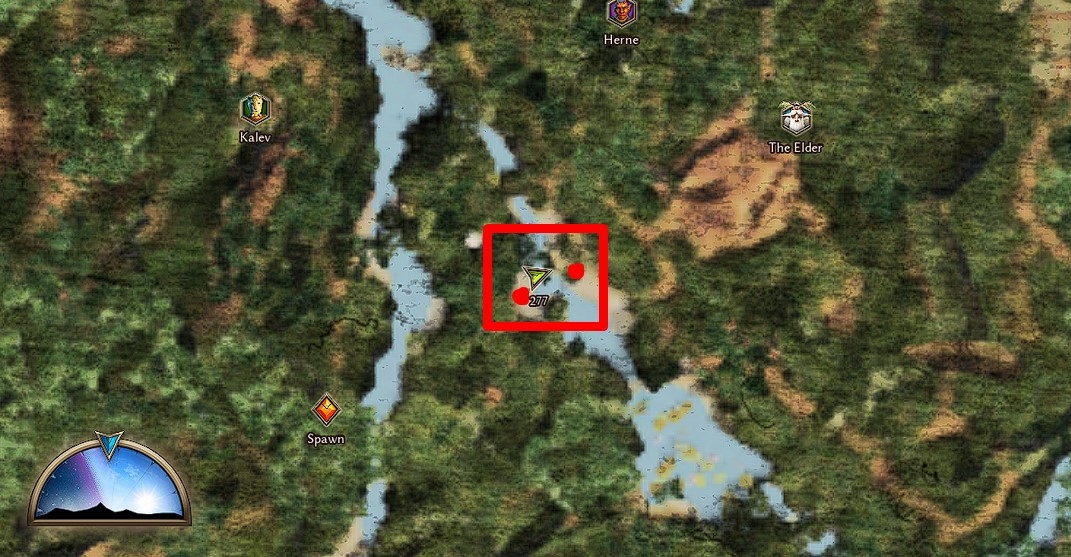
On one shore (where the green grasshopper sits), you’ll find a bottlecap, and on the other shore (where someone’s key lies), you’ll find several screws sticking out of the sand.
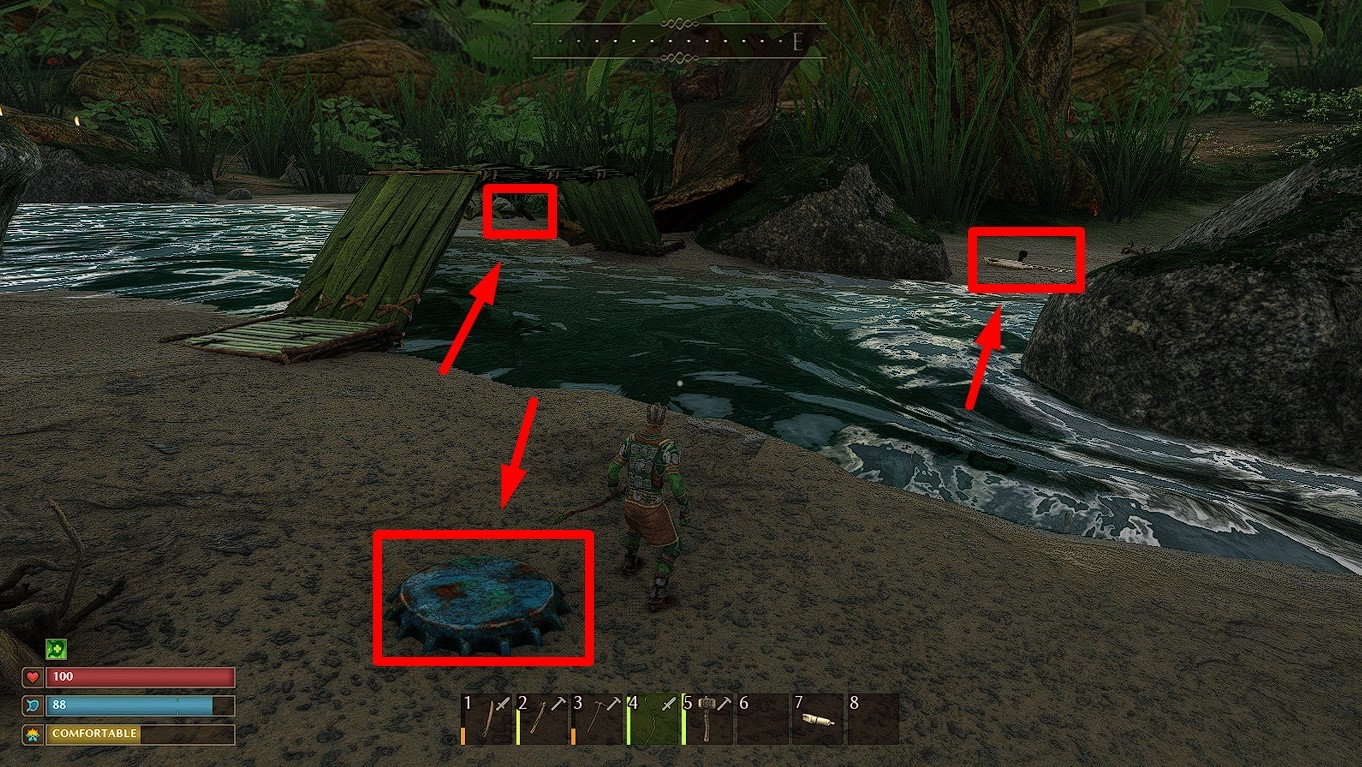
If you’re very cunning (like me 😎), you can even build yourself a cute little bridge.
Having obtained screws and bottlecaps, you’ll be able to create a Stonecutter, which will grant you access to many new items and workstations.
From this point on, the serious game of Smalland begins, and there’s a lot of interesting stuff ahead.
Conclusion
In this Smalland: Survive the Wilds guide, all the main game mechanics were covered. The esteemed reader has learned the basics of survival and construction, the intricacies of the combat system and navigation tricks, taming creatures, and obtaining the most important resources. Since this is a guide for beginners rather than a complete walkthrough, I’ll take my leave here. If you have any questions, please ask them in the comments. I continue to play Smalland, so I’ll be happy to answer your questions to the best of my knowledge. Thank you for reading and good luck! 😉